
Ever wonder if smart home devices are hard to set up? You'll be glad to know that installing a TP-Link smart plug is simpler than it seems. In this guide, we walk you through using the Kasa Smart app and the right Wi-Fi settings. First, plug in the smart plug, then pair it with the app, and check that a solid green light confirms it's working. Follow these easy steps, and you'll soon be controlling your devices with confidence.
TP Link Smart Plug Installation: Easy Setup
Follow these straightforward steps to get your TP-Link smart plug up and running on your home network.
- First, download and open the Kasa Smart app on your Android or iOS phone.
- Next, sign up or log in to your Kasa account.
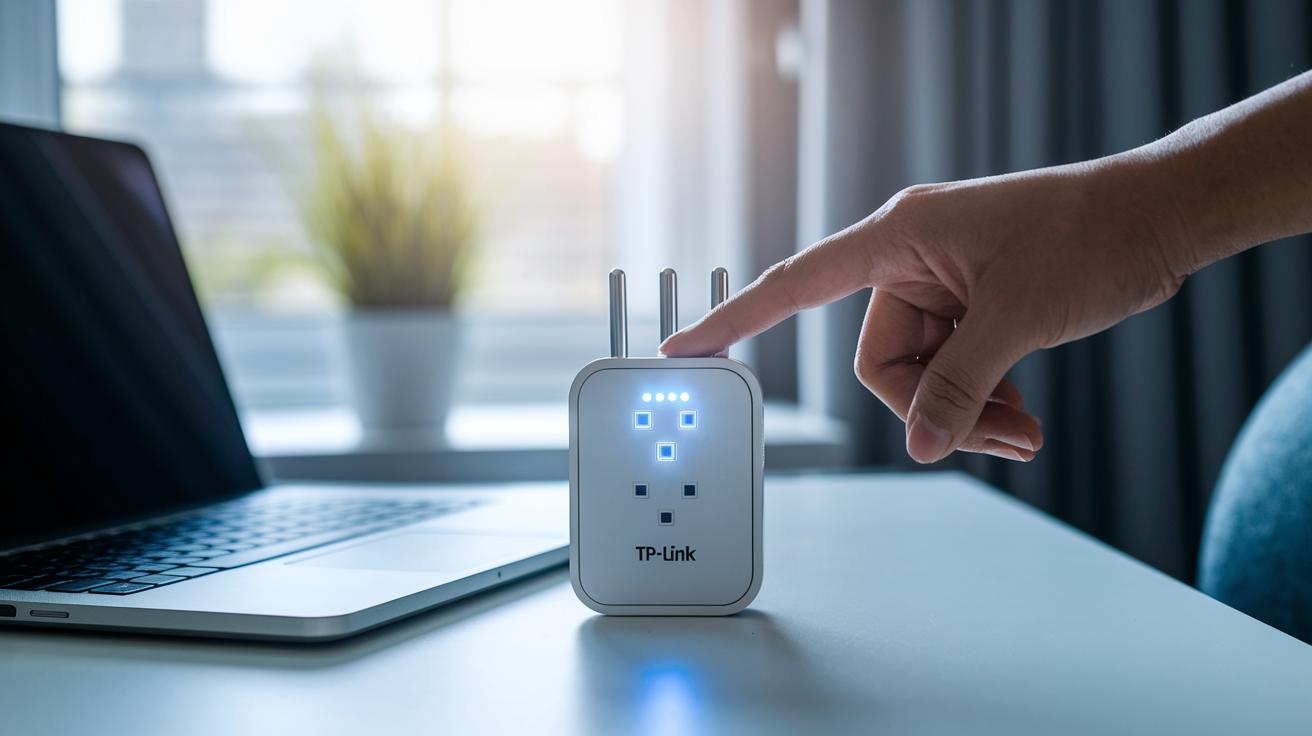
- Plug the smart plug into any wall outlet.
- Wait until the LED blinks in orange and blue – that means it’s in pairing mode.
- In the app, tap the plus icon and tap on Device > Smart Plug > Smart Plug Lite/Mini to match your model.
- When prompted, pick the pairing option that shows orange and blue lights.
- Enter your home’s 2.4 GHz Wi-Fi name (SSID) and password (remember, it won’t work with 5 GHz networks).
- Confirm your settings and wait for the LED to turn solid green, which shows it’s connected.
Once you see a solid green light, check the Kasa app to make sure your smart plug is registered and ready to control your favorite devices.
Preparing Your Network and Device for TP-Link Plug Installation

Getting ready before you install your TP-Link smart plug makes the whole setup process a lot easier. Start by making sure your Wi-Fi and mobile device meet the plug's basic requirements. This little check saves you from frustrating connection issues down the road.
Here’s what you need to do:
- Verify you have a 2.4 GHz Wi-Fi network
- Ensure your phone runs Android 5.0 or later or iOS 10.0 or up
- Have your Kasa account login details handy
- Choose an outlet that’s close enough to your Wi-Fi router for a strong signal
- Turn off any VPNs or captive portal settings that might interfere
A bit of upfront checking goes a long way. By confirming that your network doesn’t block your connection with unusual settings and that your chosen outlet has a solid Wi-Fi signal, you can enjoy a smooth installation and steady performance with your TP-Link smart plug.
Downloading and Configuring the Kasa App for TP-Link Installation
The Kasa Smart app is your go-to tool for managing TP-Link smart plugs. It's free on Google Play and the Apple App Store. You can sign in with your current account or create a new one. Before you add your plug, open the app settings to make sure it's up to date.
Android Setup
• Download Kasa Smart from Google Play.
• Open the app and sign in or register a new account.
• Tap the plus icon in the top corner.
• Select Smart Plug Lite/Mini from the list. Note that the menu options might be a bit different on Android, so just follow the prompts on your screen.
iOS Setup
• Download Kasa Smart from the Apple App Store.
• Open the app, grant the necessary permissions, and sign in or create an account.
• Tap the plus icon and choose Smart Plug Lite/Mini.
• iOS users might see an extra update prompt. Check your settings for any updates before you pair your device.
Pairing Your TP-Link Smart Plug With Your Wi-Fi Network

Once you plug in your TP-Link smart plug, its LED starts flashing in orange and blue. The orange flashes tell you it's ready to pair, while the blue flashes mean it's trying to connect. If you don't see any blinking within 30 seconds, unplug the device and plug it back in to restart the pairing process.
Next, open the Kasa Smart app and look for the plug shown by a blinking LED icon. Tap that icon to begin the setup. If your plug doesn't appear right away, make sure your phone's Bluetooth is on and move it closer to the plug. A quick tip: if the app still doesn't find it, refresh your device list.
When the app asks, enter the SSID and password for your 2.4 GHz network (the plug doesn’t work on 5 GHz networks). After your details are confirmed, the LED will turn solid green, which means it's connected. If you keep seeing a blinking light, double-check your Wi-Fi settings or restart the plug.
Updating Firmware and Optimizing TP-Link Smart Plug Performance
Open the Kasa app and go to Device Settings to find the firmware update option. Tap the firmware version, and the app will automatically look for and download the latest update. The process takes about 2–3 minutes, and you'll see the LED blinking while it's updating. It's a smart move to run this update right after your initial setup so you benefit from the newest features and extra security.
It’s also a good idea to check for firmware updates on a regular schedule. Once an update is complete, take a quick look at the LED. If it stays solid green, you know the connection is stable. Keeping your firmware current not only boosts performance but also helps avoid issues that come with outdated software.
Troubleshooting Common TP-Link Smart Plug Installation Errors
Setup problems with the TP-Link smart plug usually come down to issues with the LED signals, detection in the app, network authentication, or unstable connections. These issues can happen because of power interruptions, a weak Wi-Fi signal, or a misconfigured network. Below are some clear tips to help you sort these common problems.
LED Status Light Not Blinking
If the LED does not blink, the plug may not be getting enough power or might need a reset. Hold down the device button for about 5 seconds until you see the LED flash. Also, make sure the plug is inserted securely into a working outlet. Sometimes a weak or faulty outlet stops the LED from activating.
Device Not Found in App
When the app does not show your plug, check that the device is within good range of your router. Make sure your phone’s Bluetooth is turned on and that the app has all the permissions it needs. Bringing your phone closer to the plug can also help clear temporary detection issues and refresh the device list.
Wi-Fi Authentication Failure
If you get an authentication error, it likely means there is a problem with the network details. Ensure you are using a 2.4 GHz Wi-Fi network because the plug does not work with 5 GHz networks. Take a moment to check the network name (SSID) and password for mistakes, and then try entering them again.
Intermittent Connectivity
For connection drops that happen now and then, consider possible interference from other electronic devices or physical obstacles. Placing the plug closer to the router and reducing interference sources can boost its stability. Updating the plug’s firmware may also fix ongoing connectivity issues.
Integrating TP-Link Smart Plug With Voice Assistants and Home Automation
Open the Kasa app and tap Settings. You'll see options labeled Works with Alexa and Works with Google Assistant. This is where you get your TP-Link smart plug ready for voice commands. Adjust these settings so you can easily control the plug without having to fiddle with your phone.
If you use Alexa, start by enabling the TP-Link Kasa skill. Sign in with your Kasa account, then run the Discover Devices command in the Alexa app. Once your plug appears, you can simply say, "Alexa, turn on [plug name]," and your device will respond right away.
For those using Google Home, add the Kasa Smart service under Home Control and sign in with your Kasa account. When your device is synced, you can use commands like, "Hey Google, switch off [plug name]," to control the plug. This setup makes it super easy to include your smart plug into your daily routines.
Final Words
In the action, we covered everything from downloading the Kasa app and setting up your network to pairing your plug, updating firmware, and troubleshooting common issues. We broke down how to configure voice assistants and manage each step with clear guidance. With this approach, tp link smart plug installation becomes a straightforward process that anyone can follow. Taking one step at a time makes home automation simple and rewarding. Enjoy the convenience and control that your new smart plug brings.
FAQ
How do I install my TP-Link Smart Plug?
The TP-Link Smart Plug installation begins by downloading the Kasa Smart app, plugging the device into a wall outlet, and following in-app instructions until the LED turns solid green, indicating a successful setup.
How do I reset my TP-Link Smart Plug for a new Wi‑Fi?
Resetting the TP‑Link Smart Plug involves pressing and holding its button for about five seconds until the LED flashes, which enables you to enter new Wi‑Fi details through the Kasa Smart app for reconfiguration.
How do I connect my TP‑Link Smart Plug to Wi‑Fi including the Wi‑Fi password?
Connecting the smart plug to Wi‑Fi requires using the Kasa Smart app to select your device, then entering your network’s 2.4 GHz SSID and password when prompted, ensuring your network meets the setup requirements.
How do I set up my TP‑Link Smart Plug with Alexa?
Setting up the smart plug with Alexa starts in the Kasa Smart app, where you navigate to the Alexa integration section, enable the TP‑Link Kasa skill, and then use the Alexa app to discover your device.
Do different TP‑Link smart plug models follow the same setup guide?
Most TP‑Link smart devices use the same Kasa Smart app procedure, though some models may offer additional features; referring to the user manual for each specific model is recommended for detailed instructions.
sildenafil breathing problems
sildenafil breathing problems
cenforce 200 mg pills
cenforce 200 mg pills
levitra 30 mg
levitra 30 mg
buy udenafil online
buy udenafil online
semaglutida dosis para bajar de peso oral
semaglutida dosis para bajar de peso oral
semaglutide ozempic price
semaglutide ozempic price
semaglutid receptfritt tabletter apoteket
semaglutid receptfritt tabletter apoteket
wegovy semaglutida efeitos colaterais
wegovy semaglutida efeitos colaterais
cialis other name
cialis other name
acyclovir price walgreens
acyclovir price walgreens
terbinafine dosage quick guide
terbinafine dosage quick guide
toradol pain relief facts
toradol pain relief facts
sildenafil meal‑related PK changes
sildenafil meal‑related PK changes
avanafil contraindication explanation
avanafil contraindication explanation
vardenafil minimal dose
vardenafil minimal dose
vardenafil safety concerns
vardenafil safety concerns