
Have you ever thought about making your door both smart and secure? Smart locks can turn your home into a safer and more convenient space. Picture a lock that not only defends your home but also adjusts to your lifestyle by connecting with your Wi-Fi or Bluetooth. In this guide, we explain every step of the installation, from taking accurate measurements and ensuring you have the right tools to aligning each component for the best performance and protection. Get ready to upgrade your home with a practical solution that makes security simple and reliable.
Smart lock installation: Enjoy Effortless Home Security
Before you begin, check that your door and area meet the key requirements. Use your measuring tape to confirm the cross bore is exactly 2 inches (54 mm) and verify the door’s thickness along with the latch alignment. Note whether your door is solid-core or hollow-core because that affects the lock’s stability and security. Also, ensure your installation spot has strong Wi-Fi or Bluetooth coverage. For example, with a hollow-core door, double-check that it’s sturdy enough to handle the lock’s pressure.
Before starting, gather all the tools you need to avoid any hiccups later. Here’s what to have on hand:
- Philips and flat-head screwdrivers
- A power drill with 1/8″ and 2″ bits
- Measuring tape
- Chisel
- Level
- Pencil
- Safety glasses
- Mounting plate
- Pre-installed lithium batteries
- Optional foam shims or spacer kit
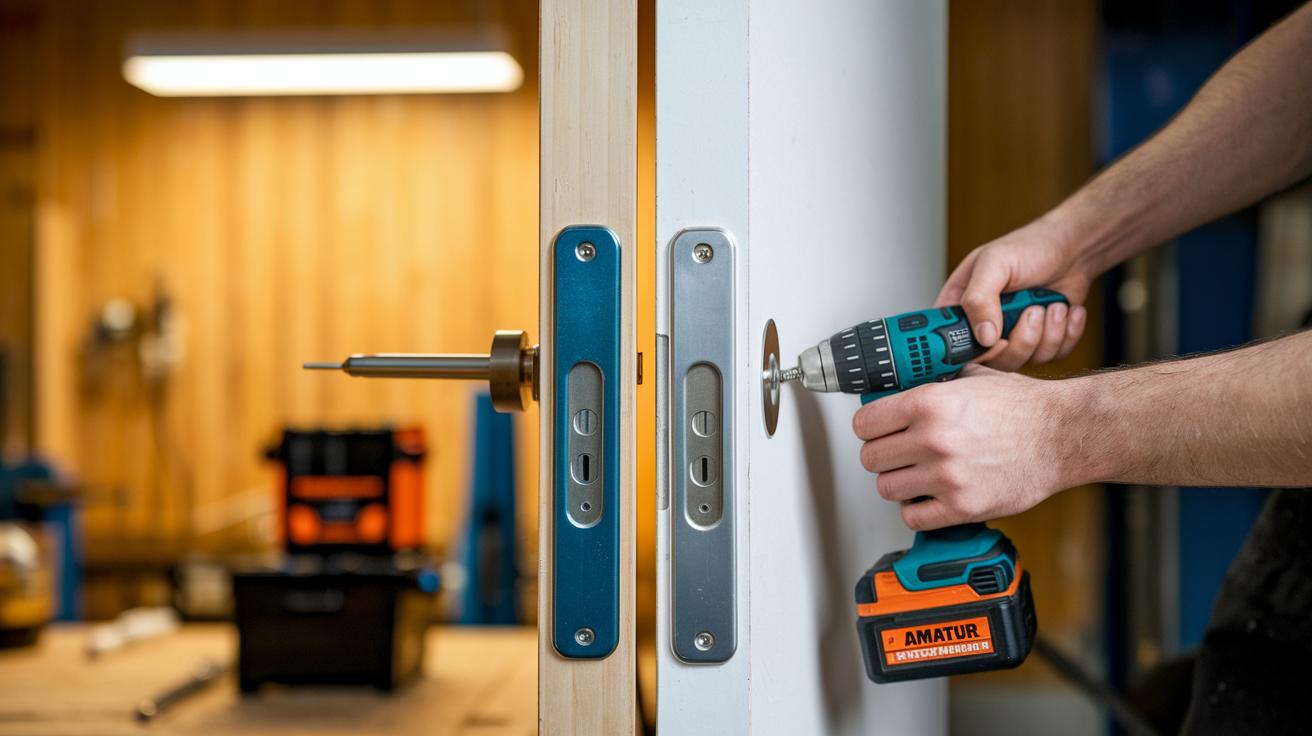
Once your tools are ready, mark the drill points on your door where the mounting plate and latch will go. Use your measuring tape and level to make sure your marks are spot on. Then, chisel out the space for the latch plate like you would carefully cut out a custom picture frame, you want every measurement to be precise for a neat finish.
Now that your door is prepped, start putting together the lock hardware. Begin with the exterior side by aligning it with your pre-marked positions. Secure the latch in its chiseled spot, checking that it moves freely and lines up with the interior mechanism. Then, attach the interior assembly and fasten the mounting plate on the inside of the door. Getting the alignment right now means fewer adjustments later and a better security seal.
After the hardware is in place, it’s time to connect the electrical components. Carefully connect the power, door-status, and Wi-Fi cables to their proper ports, making sure everything is secure. Next, insert the pre-installed lithium batteries into the battery compartment, which means you won’t need extra battery packs or an external power source. Think of it like having a tidy battery setup that saves you time and avoids extra fiddling.
When your lock is assembled and powered up, head over to your device’s app store to download the Lockin Smart app. Open the app, create an account if needed, and follow the prompts to start the Bluetooth pairing process. Once your phone is linked to the lock, connect it to your home’s Wi-Fi network so you can monitor and control your door remotely. For example, after pairing via Bluetooth, you might test unlocking your door from the comfort of your living room.
Next, follow the in-app instructions to calibrate the door-status sensor. This sensor tells you whether your door is open or closed, adding another layer of security. If your model features Venokey palm-vein recognition, register your biometric data. This advanced feature lets the lock recognize you in under a second, providing fast and secure access.
With every physical and digital step complete,
Smart Lock App Configuration and Connectivity Setup

Start by opening the Lockin Smart app and follow the simple on-screen setup. After you download it from the App Store or Google Play, sign in or make a new account. The app will then ask you to connect your lock via Bluetooth. When you tap "pair device," you might see a message like "Searching for your lock – get ready to connect!"
Once your lock is paired, type in your home Wi-Fi details so that the lock can get updates and let you unlock it from anywhere. The app will also adjust the door sensor so you always know if the door is open or closed.
For locks with Venokey palm-vein recognition, the app guides you to add your biometric data quickly and safely. This process checks your identity in under a second, giving you an extra boost of security.
- Download the Lockin Smart app and sign in
- Follow the prompts to pair your lock via Bluetooth
- Enter your Wi-Fi information to allow updates and remote unlock
- Let the app calibrate the door-status sensor
- Register your Venokey biometric data if your model supports it
Troubleshooting Smart Lock Installation Issues
If your smart lock isn't working as it should, try these simple fixes to get back to secure, hassle-free entry. A common problem is a misaligned latch. When the door or mounting plate appears off, double-check your measurements. Sometimes, if the door wasn't lined up during drilling, adjusting the strike plate can set things right.
Another issue can be batteries that seem dead, even when they're freshly installed. In this case, make sure all cable connections are secure and the wiring to the power module is tight. Often, unplugging and reconnecting the battery can clear up a false dead battery error.
If the app struggles to pair with the lock, start by resetting the lock's module. Running the setup wizard again usually clears any temporary glitches. If the app stalls during pairing, try turning off Bluetooth on your phone, wait a few moments, and then turn it back on.
There may also be occasional Wi-Fi dropouts or sensor misreads. Check that your Wi-Fi network is stable and nothing physically is obstructing the signal.
| Step | Action |
|---|---|
| 1 | Verify cable and power connections |
| 2 | Realign the strike plate if needed |
| 3 | Reset the lock module and re-run the setup wizard |
If these steps still don't fix the problem, double-check your installation guide to make sure every step was followed correctly.
DIY vs. Professional Smart Lock Installation Services
When choosing between a DIY approach and hiring a pro, think about your door type, your comfort with tools, and your budget. Going the DIY route usually means paying for the lock and any extra tools you might need. Often, a basic lock and essential tools can set you back around $100 to $200. On the flip side, professional installation can cost between $150 and $300, depending on how tricky your door setup is and local service rates.
Sometimes the project calls for expert hands. For instance, if your door needs major adjustments or must meet specific secure-fixture standards, a professional can handle those challenges efficiently. A pro also ensures that electrical connections and sensor calibrations are done correctly, giving you extra peace of mind.
Consider these factors:
- Door design and material (like retrofits for non-standard doors)
- Your ease with using power tools and precise measurements
- The need to meet high security and certification standards
Taking these points into account will help you decide if you should tackle the project yourself or find an expert installer for a smoother setup.
Final Words
In the action, we covered everything from measuring your door and gathering tools to assembling the lock and setting up the Lockin Smart app. This guide provided hands-on advice on installing your smart lock, troubleshooting common errors, and weighing DIY versus professional help. We broke down each step so you can feel confident during your smart lock installation and app configuration. Enjoy a smooth setup and the enhanced security that comes with knowing you’ve done it right.
FAQ
How much should it cost to install a smart lock?
The smart lock installation cost can vary. DIY costs include the lock unit and possible tool purchases, while professional fees add labor charges based on complexity.
Does the smart lock installation manual provide clear guidance?
The smart lock installation manual outlines step-by-step instructions, including measurements, tool lists, and alignment checks, to help users complete the setup correctly.
Where can I find smart lock installation services near me?
Local installation services are available through online directories and local hardware retailers, making it easy to book a professional if you prefer expert help.
How does Schlage smart lock installation work?
Schlage smart lock installation follows clear instructions similar to other models, emphasizing proper measurements, careful tool use, and accurate alignment for secure fitting.
What is the best approach for smart lock installation?
The best smart lock installation combines precise measurements, complete tool preparation, and following the detailed instructions provided to ensure secure and reliable operation.
Can a smart lock installation video help me set up my lock?
A smart lock installation video offers a visual guide through each step, making it easier to understand the process and ensure proper installation for those who are more visual learners.
How is smart lock installation handled for Tuya models?
Tuya smart lock installation involves similar steps with an emphasis on downloading and pairing the designated app, followed by app-based calibration to ensure function and connectivity.
How can I install a smart lock without drilling?
Some smart locks offer alternative mounting options like adhesive-based kits or non-drill solutions, allowing installation on suitable doors without using a drill.
Is it possible for me to install a smart lock myself?
Yes, many smart locks are designed for DIY installation with detailed instructions and common household tools, making self-installation both doable and cost-effective.
What are the disadvantages of using a smart lock?
Smart locks may face drawbacks such as battery dependency, occasional connectivity hiccups, and potential security vulnerabilities compared to traditional mechanical locks.