
Ever wished your home lighting could feel a bit magical? Smart lights let you transform your space quickly and safely without any major hassle. In this guide, we'll show you how to replace old bulbs and switches with modern, app-controlled ones using just a few common tools. Our easy, step-by-step instructions will help you set up a system that saves energy and creates just the right mood. Ready to brighten your home with minimal effort? Let’s dive into how you can make the switch smooth and straightforward.
installing smart lights: Bright, Effortless Setup

Smart lights are a simple way to upgrade your home without needing a ton of tools or skills. Here’s a clear, step-by-step guide to help you install them safely and easily:
- First, cut the power from your main circuit breaker so you can work safely.
- Remove your old bulbs or switches and carefully disconnect any wiring.
- Look over your current setup to decide which smart bulbs or switches match your fixtures and zones.
- Install the new hardware by securely mounting the smart switches or screwing in the smart bulbs, ensuring everything lines up right.
- Turn the power back on and check that every light is getting electricity.
- Download the smart lighting app from the App Store or Google Play, set up an account, and follow the on-screen instructions to pair your devices.
- Connect your lights to your home network, update their firmware if needed, and set up custom schedules or scenes that fit your daily routine.
By taking these steps, you’ll create an efficient, energy-saving lighting system that adds convenience and mood to your home. Enjoy knowing that every smart device works seamlessly with your setup, making it as simple as flipping a switch on your phone.
Essential Tools and Materials for Installing Smart Lights
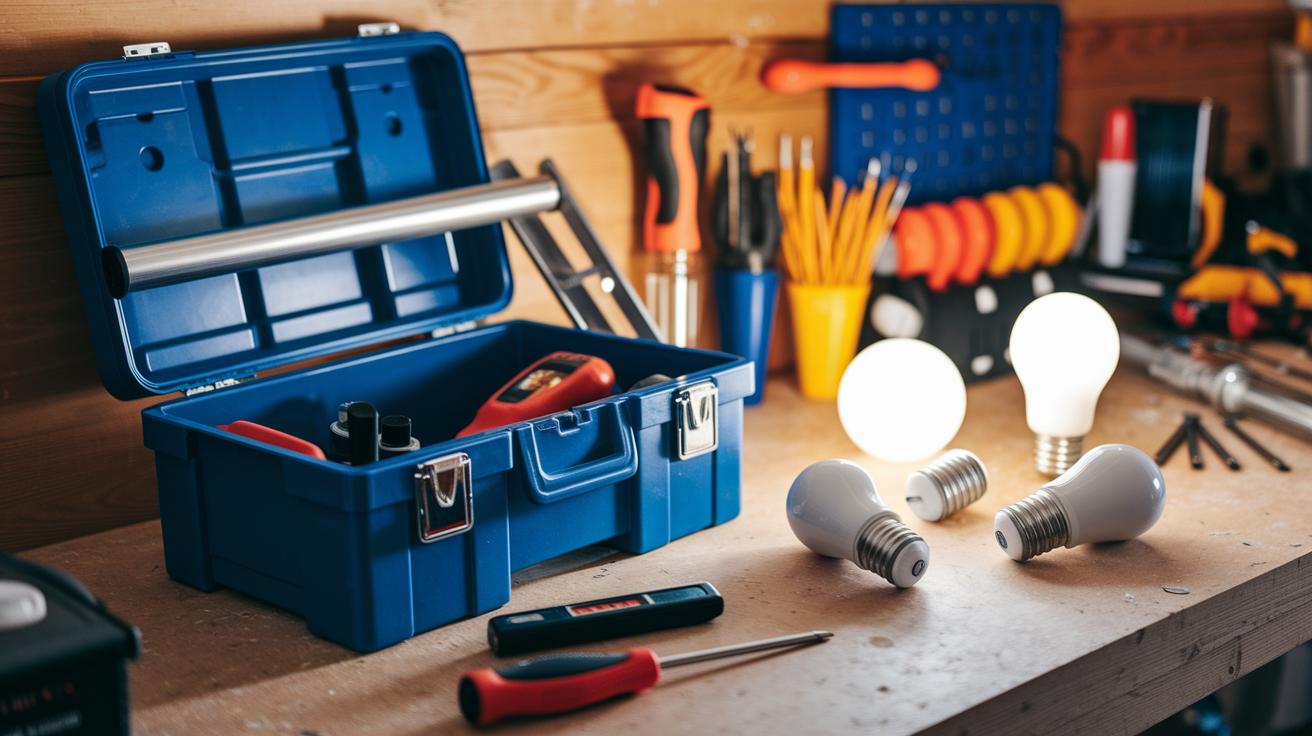
Before you begin, make sure you have all the necessary tools and parts at hand. Having the right equipment not only speeds things up but also keeps you safe. Basic tools like a ladder, voltage tester, and screwdriver allow you to reach and work on fixtures without worry, while the right specialized items help with any tweaks or adjustments during the upgrade.
Good materials are just as important as the tools. Smart bulbs or switches, mounting brackets, and connectors all play a key role in ensuring your smart lighting system works reliably. Whether you go with a smart hub that uses radio frequency (RF) to cut interference or bulbs that connect directly to your home Wi-Fi, being prepared with all the needed components makes installation and any troubleshooting much easier.
- Ladder: Provides safe access to high or hard-to-reach areas.
- Voltage tester: Checks that circuits are off before you start working.
- Screwdriver: Helps remove old fixtures and secure new ones.
- Wire stripper: Prepares wires for smooth, reliable connections.
- Scissors: Cuts LED strips and adhesive backs to the right length.
- Mounting brackets: Keeps smart bulbs or switches securely in place.
- Connectors: Ensures strong connections between wires and new hardware.
Planning Your Smart Lights Installation for Smooth Setup

Begin by reviewing your home's current lighting. Take some time to note each fixture, switch, and the type of bulb used so you know exactly where smart lighting can make the biggest difference.
Evaluating Existing Lighting Configuration
Walk through your home and make a simple list of all your light fixtures. Write down if each one uses LED, CFL, or incandescent bulbs, and mark areas like living rooms, kitchens, or outdoor spaces that see heavy use. This list will help you figure out which lights to upgrade first and whether you'll need extra hardware.
Choosing Compatible Smart Bulbs and Switches
Now, compare your list with the technical needs of new smart lighting. Check that the bulb sockets match and see if your current switches need a neutral wire before you change them. In some cases, upgrading to a smart switch might be more cost-effective than replacing several bulbs. Balancing these choices helps ensure you stay within budget and cover the areas that need it most.
Taking a little extra time to understand your current lighting and its limits sets you up for a smart, easy installation that fits your home perfectly.
Installation Methods for Smart Lights: Bulbs vs Switches
If you're planning to upgrade your home lighting, you really have two straightforward options. You can either swap out your old bulbs for smart ones or install smart switches to control entire fixtures. Each method comes with its own set of steps, depending on your comfort level with handling electrical wiring.
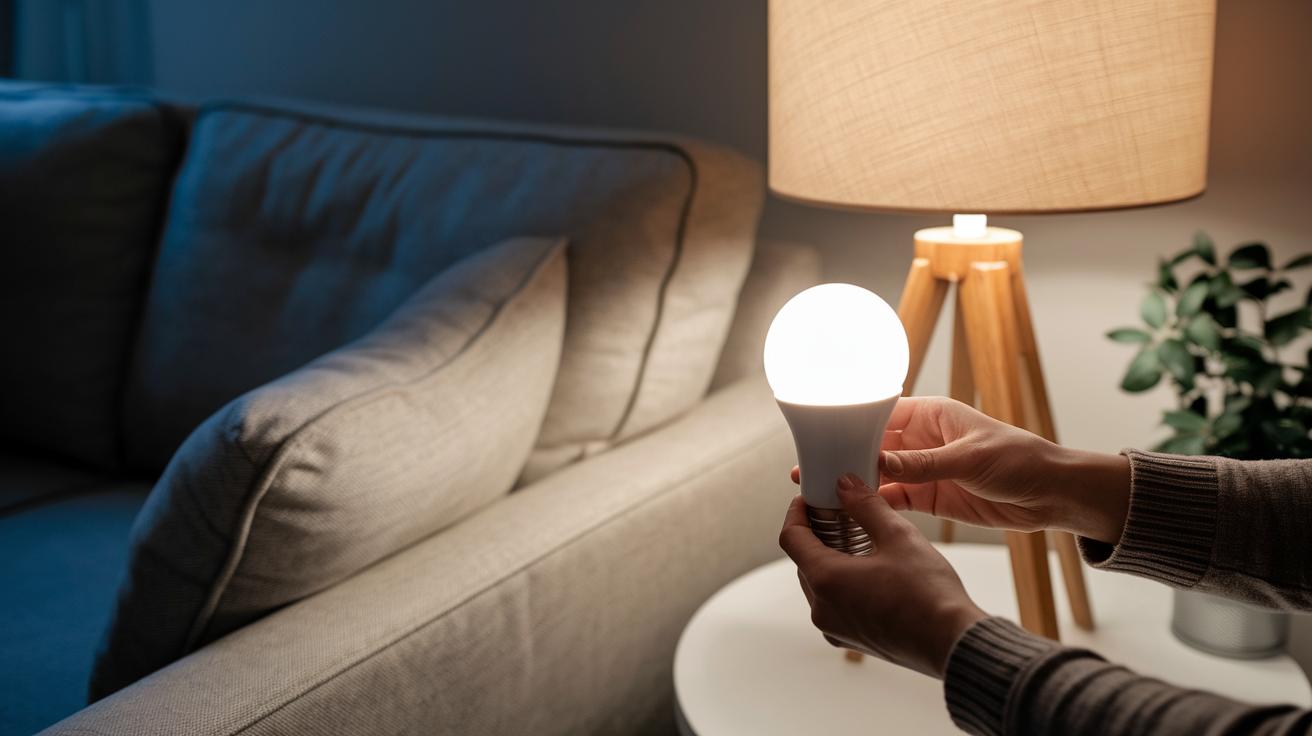
Installing Smart Bulbs
Smart bulbs offer a simple, tool-free solution. All you need to do is unscrew your old bulb and screw a smart bulb into the socket. This easy, plug‑and‑play approach means no fiddling with wires, making it perfect for beginners in smart home tech.
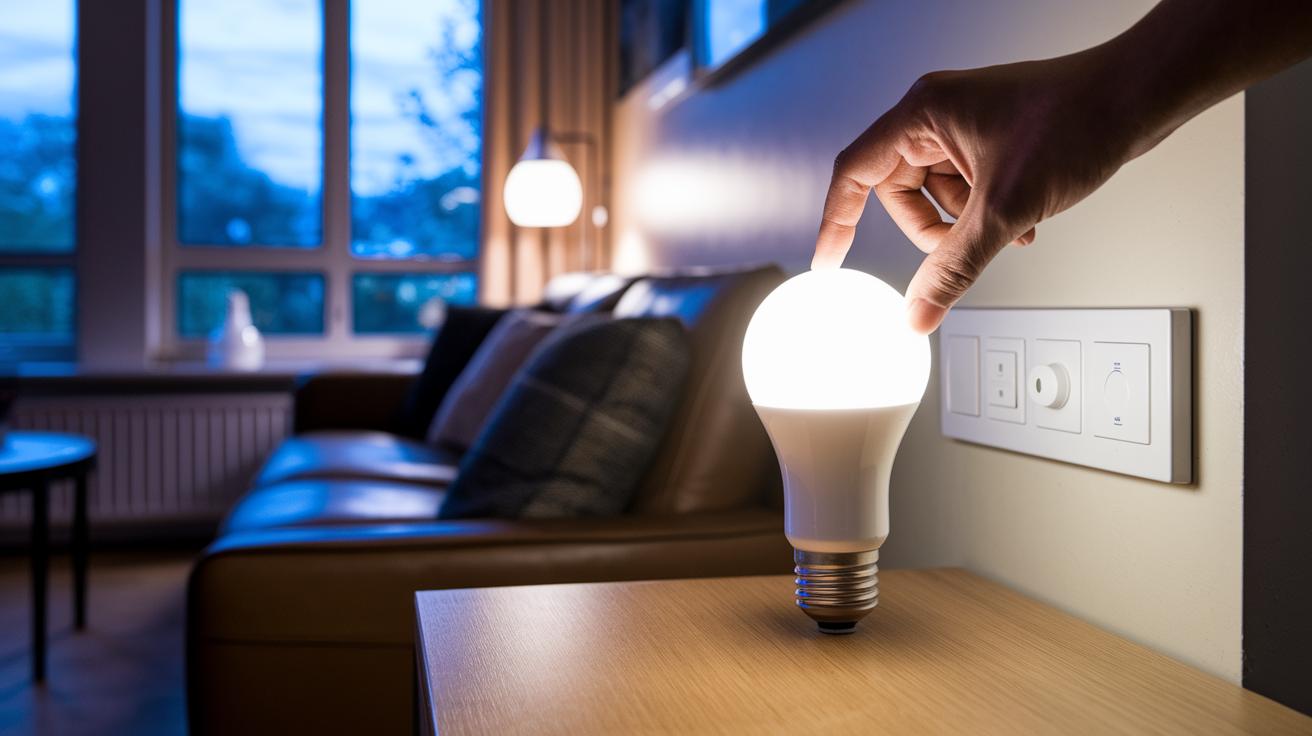
INSERT IMAGE: socket-level bulb pairing demonstrating the step-by-step process of removing an old bulb and installing the new smart bulb.
Once the bulb is in place, turn the power back on and launch your smart lighting app. Follow the on‑screen instructions to link the bulb to your home network. This app setup makes it simple to customize settings like scheduling and scene creation right from your device.
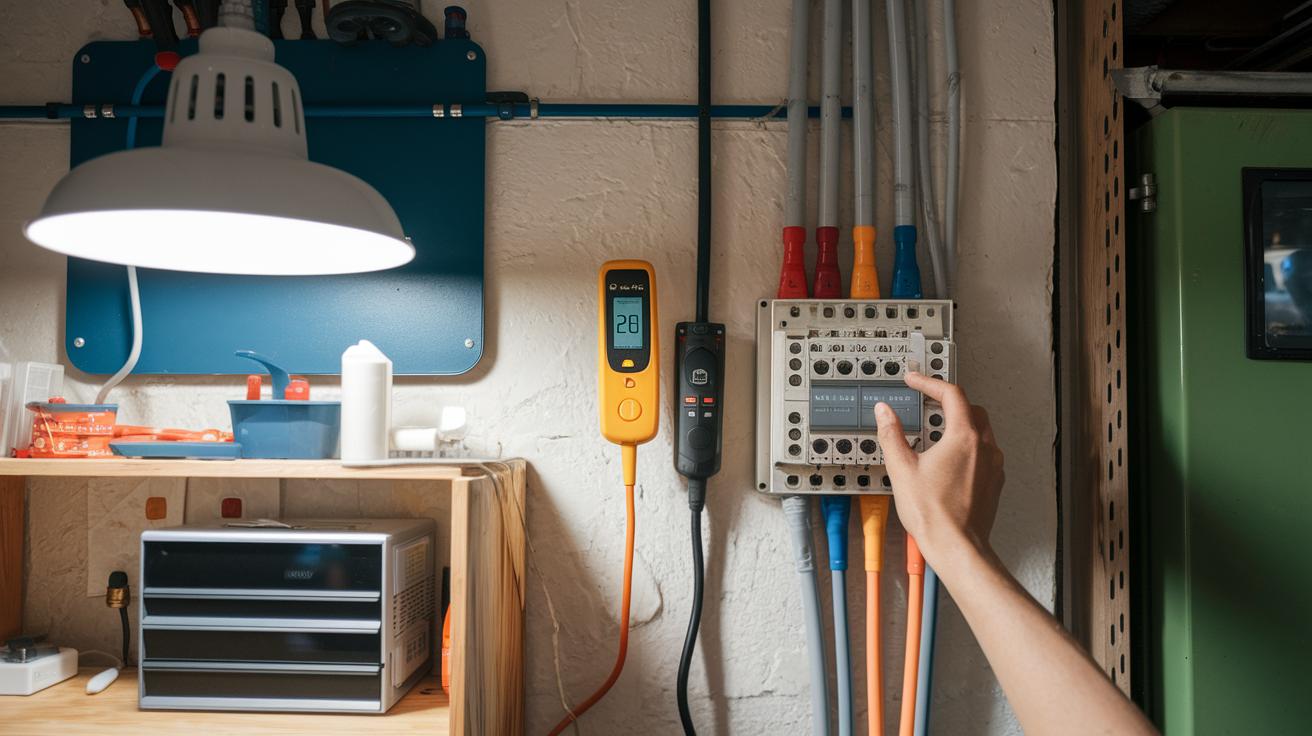
Installing Smart Switches
Installing smart switches gives you control over entire light fixtures, but it does involve some basic wiring. First, turn off your main circuit breaker to stay safe. Remove the faceplate and carefully detach the old switch wires. Next, connect the wires of your new smart switch following the provided diagram, ensuring you match the load, line, and neutral wires correctly.
INSERT IMAGE: switch wiring diagrams that clearly illustrate proper connections and tool placement.
After finishing the wiring, secure the switch back into its place and turn the power on. Test your setup by toggling the switch to see if the lights respond appropriately. With a smart switch, you can enjoy features like remote app control, dimming, and scene adjustments.
Both methods offer a reliable way to modernize your home lighting. Your choice comes down to whether you need a quick, hassle‑free change with smart bulbs or more comprehensive fixture control with smart switches.
Configuring Smart Lights with App and Network Connection
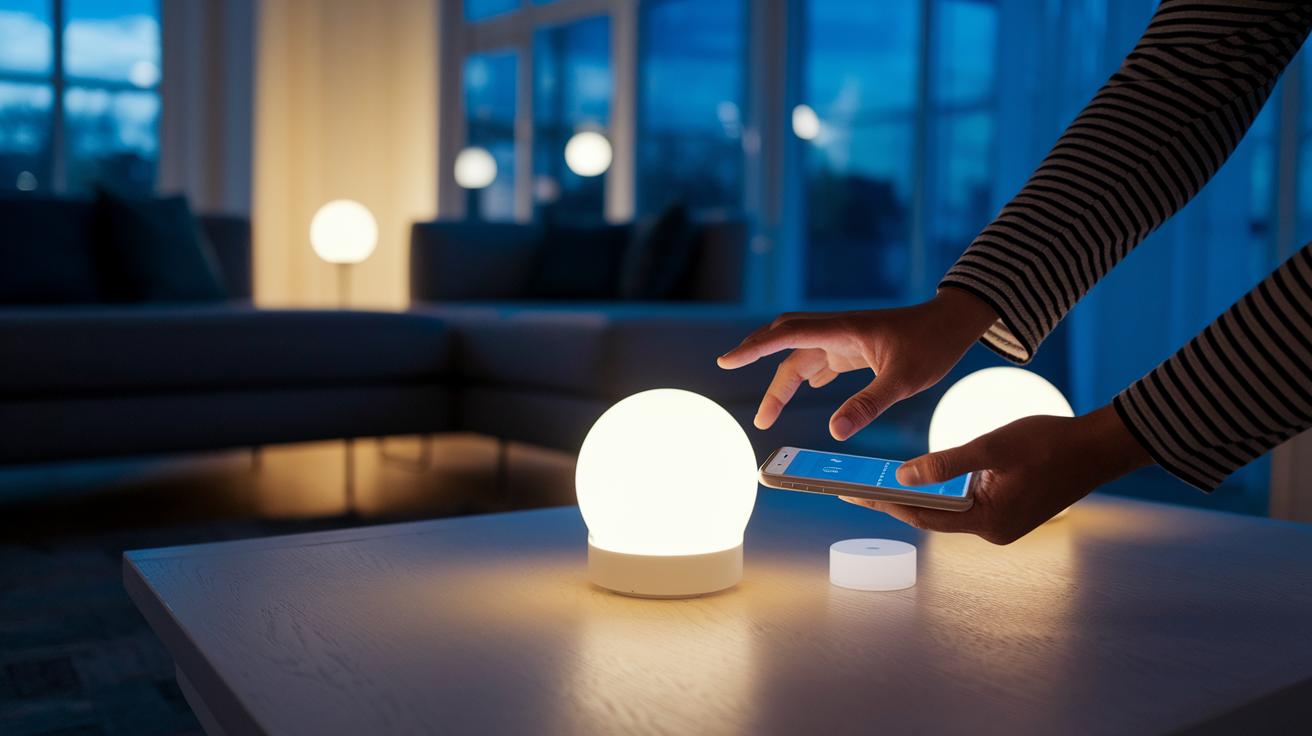
If you’ve installed the smart lighting app and set up your account, try these tips to fine-tune your configuration. When your lights aren’t showing up, check the app’s support section for help. For instance, if a light fails to pair, restart the app and confirm that your account is verified.
You can connect your lights either through a smart hub or directly via Wi-Fi. A smart hub uses RF signals to reduce interference and control multiple bulbs, while direct Wi-Fi lets the lights communicate over a 2.4 GHz network for a simpler setup. If you notice slow response times or dropped connections, compare both methods to see which one suits your environment. One user discovered that switching to a smart hub improved response during peak usage.
The app’s advanced settings offer options to customize scenes and schedules beyond the basics. You can explore features like geo-fencing and adaptive brightness if you need more control over your lighting routine. If your scheduled scenes don’t kick in as expected, double-check that your firmware is current and that the app has the right permissions. For example, one user set a gradual brightness increase to mimic a sunrise, easing the shift from sleep to wakefulness.
Troubleshooting Common Installation Issues with Smart Lights

When your smart lights start acting up, you might see them cutting out, not powering on, or not pairing correctly. These problems often happen when bulbs or hubs are placed too far apart, a bulb isn't screwed in tightly, or wiring connections aren't secure.
Begin by checking each bulb to ensure it's fully screwed in and that the switches are wired correctly. Sometimes the hub or bulbs are simply too far from your Wi‑Fi router. Try moving the hub closer to the problem lights or adding a Wi‑Fi extender to boost the signal. Also, double-check all wiring to make sure everything is connected properly. Looking at your smart lighting app for any error messages can also offer useful clues.
If you continue to have issues with pairing, consider doing a factory reset. Follow the manufacturer's directions: usually, you'll press and hold the reset button on the bulb or switch until it blinks, showing that the reset was successful. Once that's done, re‑pair the device with your smart lighting app. These practical fixes tend to resolve most setup problems and help you enjoy reliable control over your smart lights.
Safety Best Practices for Installing Smart Lights
Before working on your smart lights, always switch off the circuit breaker and use a voltage tester on each circuit to ensure there’s no power. This extra step helps prevent any accidental shocks during installation.
When cleaning your bulbs or fixtures, double-check that the power is off. Only clean once you are sure no current is flowing so you avoid any shocks or possible damage.
If you’re faced with wiring tasks or installing smart switches that feel too challenging, it’s best to hire a licensed electrician. This way, you get a safe setup and know your smart lighting system will work correctly.
Frequently Asked Questions on Installing Smart Lights
Q: What are the key differences between smart bulbs and smart switches?
A: Smart bulbs are simple to install, you just swap them in without any wiring changes. They’re perfect for newcomers to smart lighting. On the other hand, smart switches let you control entire fixtures but require working with electrical wiring (remember to turn off the power at the breaker). For more details, check the Installation Tools and Safety section.
Q: How can I optimize my network setup for smart lights?
A: Keep your hub or Wi‑Fi bulbs close to your router and, if possible, stick to a 2.4 GHz network. If you run into connection issues, try moving your router or hub to a better spot. See the Networking and Connectivity section for extra advice.
Q: What should I do if my device struggles to pair with the app?
A: First, make sure the bulb is properly installed and do a full factory reset before trying to pair it again. If it still won't connect, try moving the bulb closer to your hub to reduce interference. The Troubleshooting section has more tips.
Q: How can I verify that my app is compatible with my smart lighting setup?
A: Check that the app supports both hub-based and hub-free setups, and that it recognizes your device during the setup process. The App and Device Compatibility guidelines above provide further clarification.
Q: Why are firmware updates important and how should I manage them?
A: Firmware updates fix bugs and boost performance. After setting up your device, keep an eye on the app for update prompts and follow the instructions when one appears. For more detailed guidance, see the Device Maintenance section.
Final Words
In the action, you explored a step-by-step guide on installing smart lights.
We broke down every stage, from evaluating your current setup and gathering tools to the wiring of smart switches and bulb pairing via the app.
The guide also covered troubleshooting tips and essential safety practices to keep your DIY project smooth and secure.
With these clear instructions and practical advice, installing smart lights becomes a doable project that enhances your home's functionality and appeal. Enjoy transforming your space with ease and confidence!
FAQ
Q: How do you install smart lights in your house?
A: The smart light installation process begins by switching off the power at the breaker, replacing old bulbs or switches with smart ones, reconnecting hardware, and finally configuring the lights through their app.
Q: How do you connect a smart bulb to your phone?
A: Connecting a smart bulb to your phone involves downloading the bulb manufacturer’s app, pairing the device via Wi-Fi or Bluetooth, and following the on-screen setup instructions.
Q: How do you set up smart bulbs with Alexa for home automation?
A: Setting up smart bulbs with Alexa requires linking your bulbs in the Alexa app, creating voice-activated routines, and ensuring your devices are on the same network for smooth automation.
Q: Do smart bulbs need special wiring?
A: Smart bulbs work in typical light sockets and are designed to be plug-and-play, so they don’t require any special wiring modifications compared to standard bulbs.
Q: Do you need an electrician to install smart lights?
A: Installing smart bulbs is generally a DIY task, while replacing smart switches may require an electrician if you’re uncomfortable with wiring changes.
Q: What are the disadvantages of smart lights?
A: Smart lights can face connectivity issues, require periodic firmware updates, and often come with a higher cost compared to traditional lighting options.
Q: How do smart light switches compare to smart bulbs?
A: Smart light switches control entire fixtures and might involve wiring work, while smart bulbs offer individual control with a simpler, screw-in installation method.