
Have you ever noticed that your TV's sound doesn't quite cut it? In this guide, you'll learn how to set up your soundbar in just minutes without any extra gear. We start by showing you what's inside the box and then explain how to choose the best cable connections for clear, crisp sound. Follow these simple steps and you'll soon be enjoying movie and game audio that feels much more alive.
Quick-Start Soundbar Setup: Unboxing to Playback
Before diving into setup, open the box and double-check that all key parts are inside. You should find the soundbar, any subwoofer if it's packed separately, a power cable for each unit, the HDMI or optical cable (depending on what your TV supports), a remote control for setup, and any quick-start guides or manuals.
Here's a quick checklist:
- Soundbar (and subwoofer if included)
- Power cable(s) for the soundbar (and subwoofer)
- HDMI cable or optical cable (choose based on your TV's ports)
- Remote control for easy navigation
- Manuals or quick-start guides that came in the box
For the best sound, we recommend using HDMI ARC. This connection sends both video and audio through a single cable and supports Dolby Digital sound. Many modern TVs have an HDMI ARC port, which makes for a cleaner and more efficient setup. If your TV doesn't offer HDMI ARC, connect using an optical cable. Just make sure you plug into the soundbar's optical input and your TV's optical output. Also, change your TV settings to use external speakers, so the built-in speakers are bypassed.
Once your devices are connected and powered up, head into the soundbar's setup menu. Follow the on-screen instructions and then play your favorite music or video to check out the vibrant, enhanced audio that brings your viewing experience to life.
Soundbar Placement Options: Under-TV vs. Wall-Mount
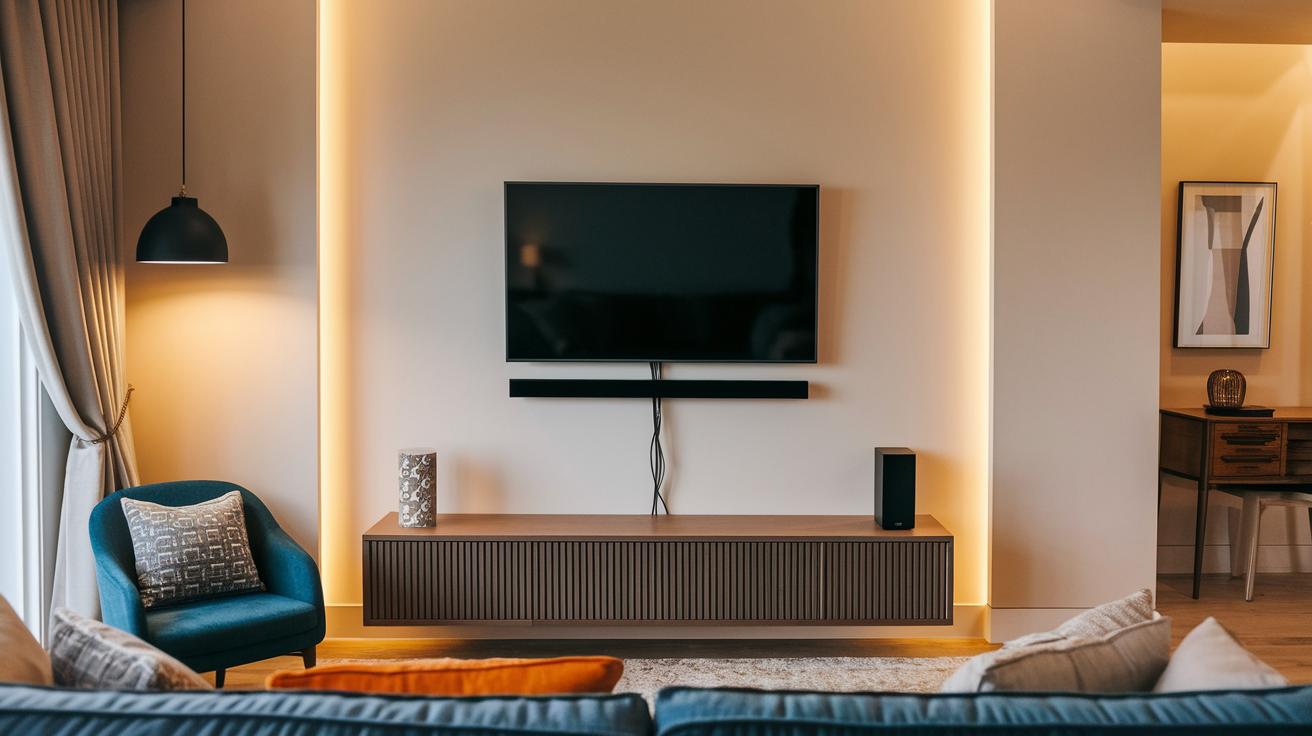
Placing your soundbar below the TV is a simple choice when your cables can easily reach nearby ports like HDMI or optical inputs. It's a quick setup that doesn’t require extra mounting gear, making it perfect for anyone who prefers not to change their wall design. Plus, when your cables are exposed on a TV stand, shifting or adding devices stays hassle-free.
If you’re aiming for a cleaner look, wall-mounting the soundbar might be the way to go. This option gives your setup a more integrated vibe as the soundbar becomes the central piece for your audio and video gear. It does mean you need the right brackets and some careful planning. Before you start, measure your TV’s width, find wall studs for support, and mark the exact spots for drilling. Follow the manufacturer’s instructions to make sure everything stays secure.
Both setups have their perks. Under-TV placement keeps your cabling simple and flexible, while wall-mounting adds a sleek, polished touch to your room.
Soundbar Connection Methods: HDMI, Optical, and Bluetooth
First up, if your TV supports HDMI ARC, use that connection. Find the HDMI ARC port on both your TV and soundbar and link them together with a high-speed HDMI cable. This one-cable solution handles both audio and video while offering great sound quality with Dolby Digital support. If your TV doesn't have an HDMI ARC port, you can use an HDMI adapter as a bridge. Just plug the adapter into your TV and connect your soundbar – it keeps setup simple without sacrificing sound.
If you're dealing with an older TV or just want another option, try an optical cable. Look for the optical output on your TV and the matching input on your soundbar. Make sure the cable is aligned correctly (the clear side should face the sensor) and then connect it firmly. After hooking it up, head into your TV's audio settings to select the external speaker or optical output option. This step turns off the TV speakers and sends all the sound to your soundbar. A good tip: if the volume seems low, double-check the cable connections at both ends.
For wireless ease, Bluetooth is another great option. Activate your soundbar's Bluetooth mode by pressing its dedicated button, then go to your TV's Bluetooth settings to find and select the soundbar. This method is handy if you want to stream audio from your phone or tablet directly. Some soundbars even support features like LG Wireless Sound Sync, which automatically pairs with compatible TVs for a more streamlined experience.
Choose the connection method that suits your setup best and enjoy top-notch audio with minimal fuss.
Subwoofer and Surround Integration for Your Soundbar
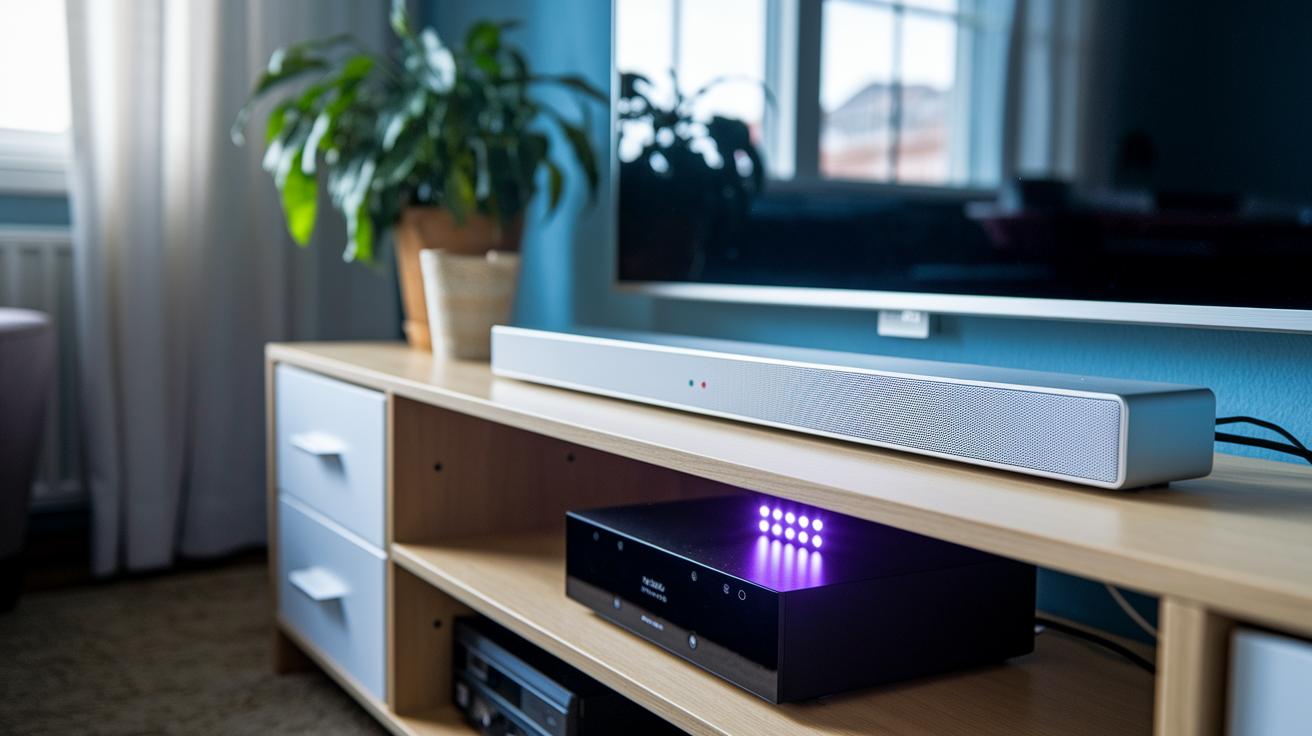
Most soundbars include a wireless subwoofer that pairs automatically when you power it on near the bar. Simply turn on the subwoofer and let the soundbar detect it. When you see its lights flashing, you know they’re paired. If it doesn’t connect at first, try moving the subwoofer closer to the soundbar and check that the power cable is secure.
For setups with extra surround speakers, open your soundbar’s menu and look for a setting like "surround mode" or "home theater mode." When you find it, select the option so your surround speakers can join the setup. Often, you'll see an on-screen prompt saying, "Activate Surround Speakers – Simply press OK to commence pairing." Just follow the prompt.
After your devices are paired, tweak the audio settings to get the perfect sound. Adjust the bass to make sure the subwoofer blends nicely with the surrounds. You can also change the surround width to suit your room and seating. Experiment with these options until the balance feels just right. This simple process completes your home theater setup, letting you enjoy a richer and more immersive sound experience.
Cable Management and Power Strategies for Soundbar Installation
Keeping your setup tidy starts with managing your cables well. A simple trick is to run your cables behind furniture or along walls using raceways. They hide the mess and make everything look cleaner. You can also use zip ties or cable clips to secure your audio/video cables and power cords so nothing gets loose. Adding an AV adapter at the back of your device bundles cables neatly for a smooth look.
It also helps to keep the power cable separate by plugging it into a surge protector. This stops any interference and makes sure your soundbar works reliably. Here are a few easy tips to follow:
- Route cables behind furniture when you can.
- Use raceways, zip ties, or cable clips to keep loose wires in place.
- Connect power cables to a surge protector.
- Keep audio cables away from power lines to reduce interference.
- Consider using an AV adapter for a clean connection at the back.
This simple approach not only improves how your setup looks but also helps prevent accidental disconnections, keeping your soundbar ready to deliver great sound whenever you need it.
Audio Calibration and Equalizer Settings on Your Soundbar
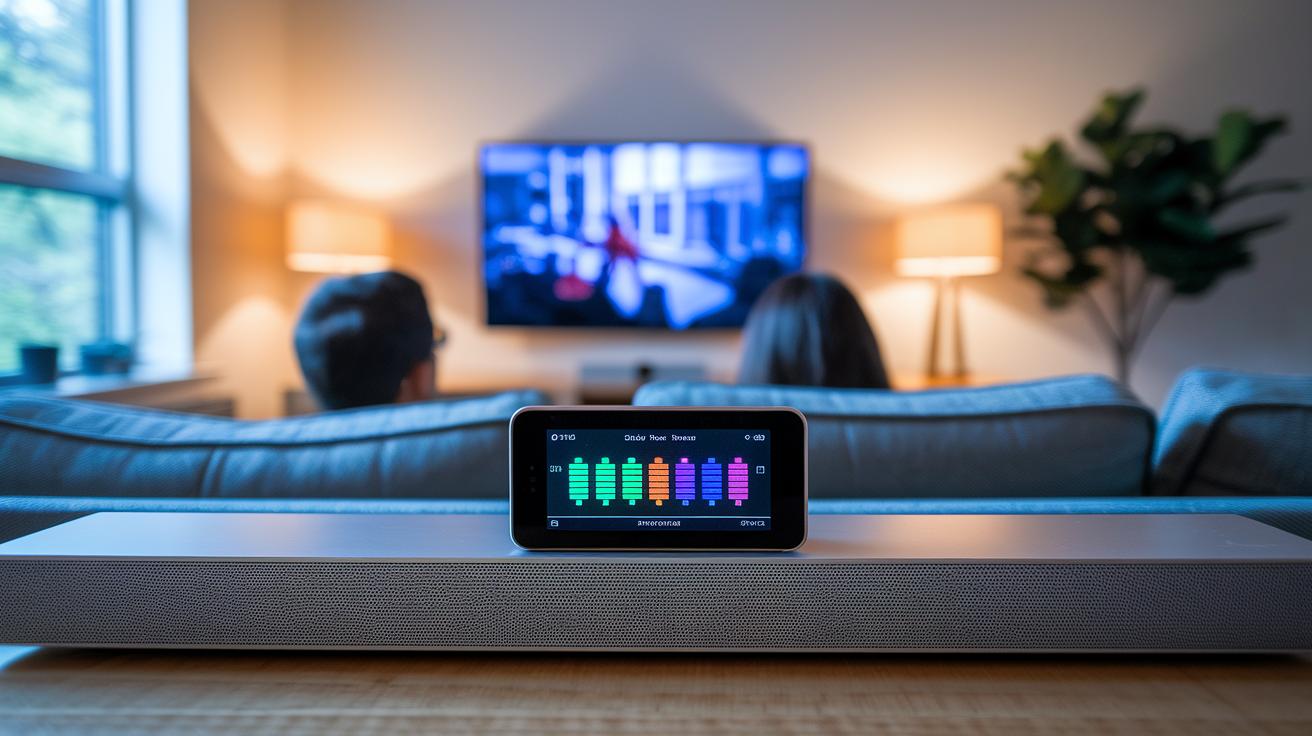
Start by opening your soundbar’s calibration menu. Here, you’ll typically find EQ presets like movie, music, and news, which let you quickly pick a sound profile that fits your style. You can also adjust the bass and treble manually to set the depth of the lows and the sharpness of the highs just the way you like.
Next, check the audio delay setting to perfectly sync the sound with what you see on the screen. If the dialogue feels out of step with the on-screen actions, simply tweak the delay until speech and lip movements match up.
Many soundbars now come with an auto-calibration feature that uses built-in microphones to analyze your room’s acoustics. When you activate this option, the system might ask you to stay quiet for a moment so it can gather accurate room data and adjust the settings automatically.
If your soundbar is connected via HDMI ARC, that’s even better because it lets your TV remote control the volume, making adjustments a breeze.
- Access the calibration menu
- Choose an EQ preset or adjust bass and treble manually
- Fine-tune the audio delay for perfect sync
- Enable auto-calibration if your model supports it
Play around with these settings to find the sound balance that best suits your listening experience. Enjoy the richer, more tailored audio!
Firmware Updates and Remote Pairing for Your Soundbar
Before you start, update your soundbar's firmware to keep it secure and running smoothly. Most models let you do this over Wi-Fi or USB. Simply open the update menu, follow the on-screen prompts, and watch as the latest software downloads and installs. You might even see a message like "Tap Update and wait for the download to complete" before the process begins.
Once your firmware is up to date, it's time to pair your remote control for easy use. Some soundbars guide you through the pairing right on the screen, while others need you to enter universal control codes, especially when using an optical connection. Activate the pairing mode on your soundbar, then follow the display instructions. Usually, this means pressing and holding the remote's pairing button until the soundbar recognizes it.
- Access the firmware update menu
- Download and install the latest firmware
- Activate pairing mode for your remote
- Test the remote by checking volume and input controls
Common Troubleshooting Tips for Soundbar Setup
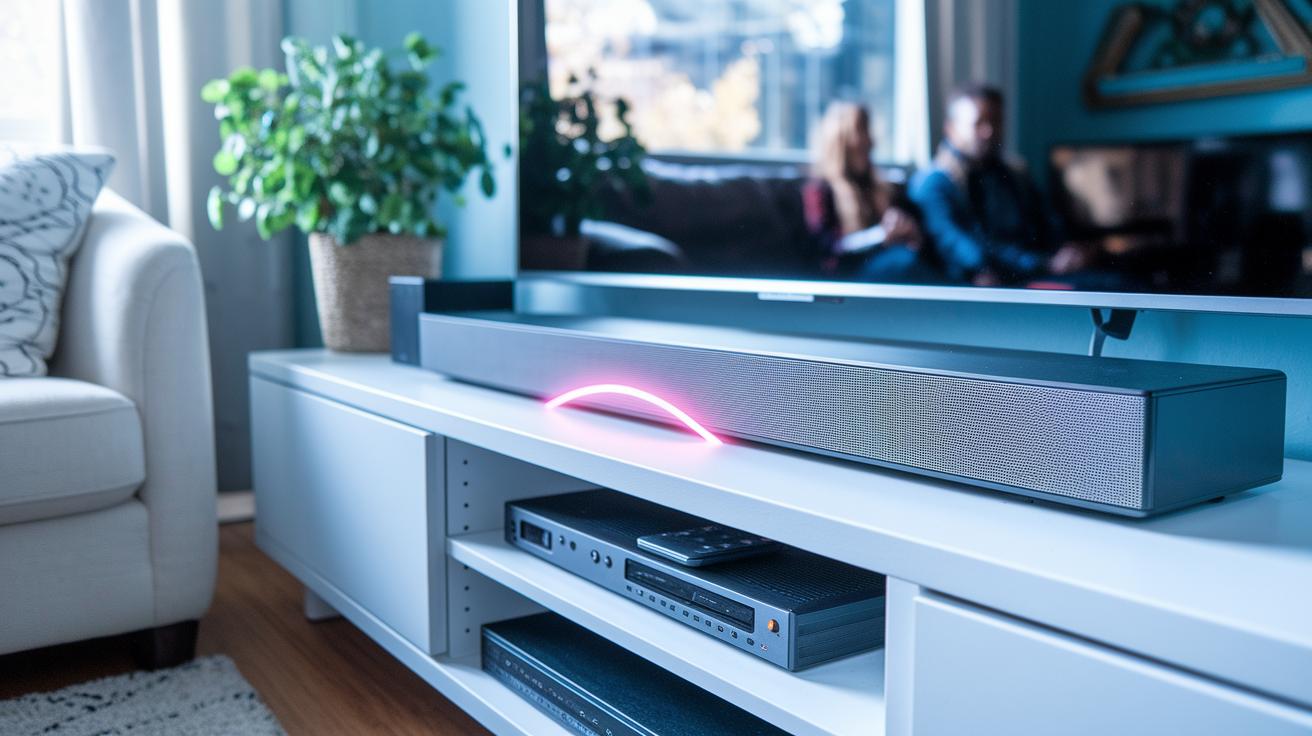
If you don't hear any sound through your HDMI ARC connection, start by disconnecting your HDMI cable and plugging it back in securely to both the TV and soundbar. Next, check the TV's audio settings to ensure it is set to send sound through ARC.
When using an optical cable, switch your TV to the external speaker or optical audio mode. This step helps if you notice the sound is weak or cuts in and out.
For Bluetooth issues, try resetting your soundbar and clear the TV's Bluetooth list. Turn on pairing mode on your soundbar and try connecting again. Sometimes, just pressing the Bluetooth reset button on the soundbar clears the glitch.
If no sound appears or the audio is choppy, update your soundbar’s firmware. Older firmware can cause issues with newer TV models or large soundbars. A firmware update usually fixes these unexpected errors.
Here are a few steps to follow:
- Reseat your cables and check you’re using the right ports
- Confirm the TV is set to ARC or external speaker mode
- Reset the Bluetooth pairing on both the TV and soundbar
- Update the soundbar firmware if needed
Work through these steps one by one to find and fix the audio problem so you can enjoy your sound system again.
Final Words
In the action, this article walked through the entire process from unboxing to fine-tuning audio settings. We covered key points like choosing the right cable connection, setting up subwoofers, managing cables, and pairing remotes. Each section offered step-by-step help and practical tips to avoid common snags. With this soundbar installation guide, you now have a clear path to enjoying great sound and an organized setup. All these steps work together to help you get the best audio experience possible.
FAQ
Samsung soundbar installation guide
The Samsung soundbar installation guide outlines how to unbox the device, connect it properly—preferably using HDMI ARC—and calibrate the settings to ensure optimal audio performance.
Dolby atmos soundbar installation guide
The Dolby Atmos soundbar installation guide explains connecting the soundbar using HDMI ARC or optical cables, positioning speakers and subwoofers for immersive surround sound, and running calibration for clear, precise audio.
Best soundbar installation guide
The best soundbar installation guide details unboxing, choosing the right cables (like HDMI ARC for modern TVs), securely placing the soundbar, and adjusting settings for the most balanced and rich audio experience.
Dolby audio soundbar how to connect Bluetooth
The Dolby audio soundbar connects via Bluetooth by first enabling pairing mode on both the soundbar and TV, then selecting the soundbar from the available devices list to enjoy wireless audio streaming.
How to set up Samsung soundbar and subwoofer
Setting up a Samsung soundbar with its subwoofer involves plugging in both units, ensuring the subwoofer is close enough to pair wirelessly, and following the on-screen setup instructions to confirm proper synchronization.
How to connect soundbar to TV with HDMI without ARC
To connect a soundbar to a TV without HDMI ARC, use a standard HDMI cable with an adapter or choose an optical cable connection, then adjust the TV’s audio settings to route sound through the external device.
How to connect Samsung soundbar to TV wireless
Connecting a Samsung soundbar to your TV wirelessly typically requires accessing the TV’s sound settings and selecting the wireless audio option, which pairs via Wi-Fi or Bluetooth, allowing for a cable-free setup.
How to connect Philips soundbar to TV with HDMI
Philips soundbars connect to a TV using an HDMI cable by plugging it into the TV’s HDMI ARC port and configuring the audio output settings to direct sound to the soundbar for clear audio performance.
How do I hook up my sound bar to my TV?
Hooking up a soundbar to your TV involves selecting the appropriate connection—often HDMI ARC or optical cable—connecting the devices, and adjusting the TV’s audio settings to ensure sound plays through the soundbar.
Does it matter which HDMI port I use for a soundbar?
The HDMI port does matter; using the designated HDMI ARC port is preferred as it supports advanced audio formats and allows volume control through your TV remote, ensuring a better integrated experience.
How close to TV should the soundbar be placed?
The soundbar should be placed close to the TV, ideally directly below or mounted near it, to align the audio with the visuals and deliver a cohesive home theater experience.
Is it better to connect soundbar with Bluetooth or HDMI?
Connecting a soundbar with HDMI is generally better, as it offers higher quality audio, lower latency, and full control integration with the TV, while Bluetooth may introduce slight delays and reduced sound quality.