
Ever wonder why your favorite headphones don't sound as fresh as they once did? It might be because they need a bit of care. Keeping them clean means more than just wiping off dirt, it helps them deliver clear, crisp sound every time you listen. In this guide, we share simple steps to clean and store your headphones so that every note sounds as lively as the day you got them. Stick with us and learn easy tips to keep your gear in top shape, letting you enjoy every beat without a worry.
Audiophile Headphone Cleaning Essentials
Keeping your premium headphones clean is key. Regular cleaning gets rid of sweat, oils, and dust that could make your music sound dull or wear out the delicate parts too soon. We all want every note to shine, and a little maintenance goes a long way.
When you clean your headphones, be gentle with things like the ear pads, grills, and filters. A dry microfiber cloth lightly dampened with a mild cleaning solution or a baby wipe works perfectly to avoid any liquid damage. Removing the detachable pieces lets you clean better, and a soft-bristled brush can help get rid of stubborn dirt in tight spots. This careful routine means your headphones are always ready for top performance.
- Set up a clean, flat workspace with good lighting.
- Gather a microfiber cloth, soft-bristled brush, and 70% isopropyl alcohol.
- Remove ear pads, filters, or tips to access all areas.
- Gently wipe down the outer surfaces with a lightly damp cloth.
- Use the brush to clear dust from grills and crevices.
- Sanitize any removable components with diluted alcohol if needed.
- Let every part air-dry for at least 1 hour before reassembling.
Cleaning your headphones after long sessions or at least once a month keeps the sound crisp and extends the life of your favorite gear.
Storage Best Practices for Audiophile Headphone Maintenance
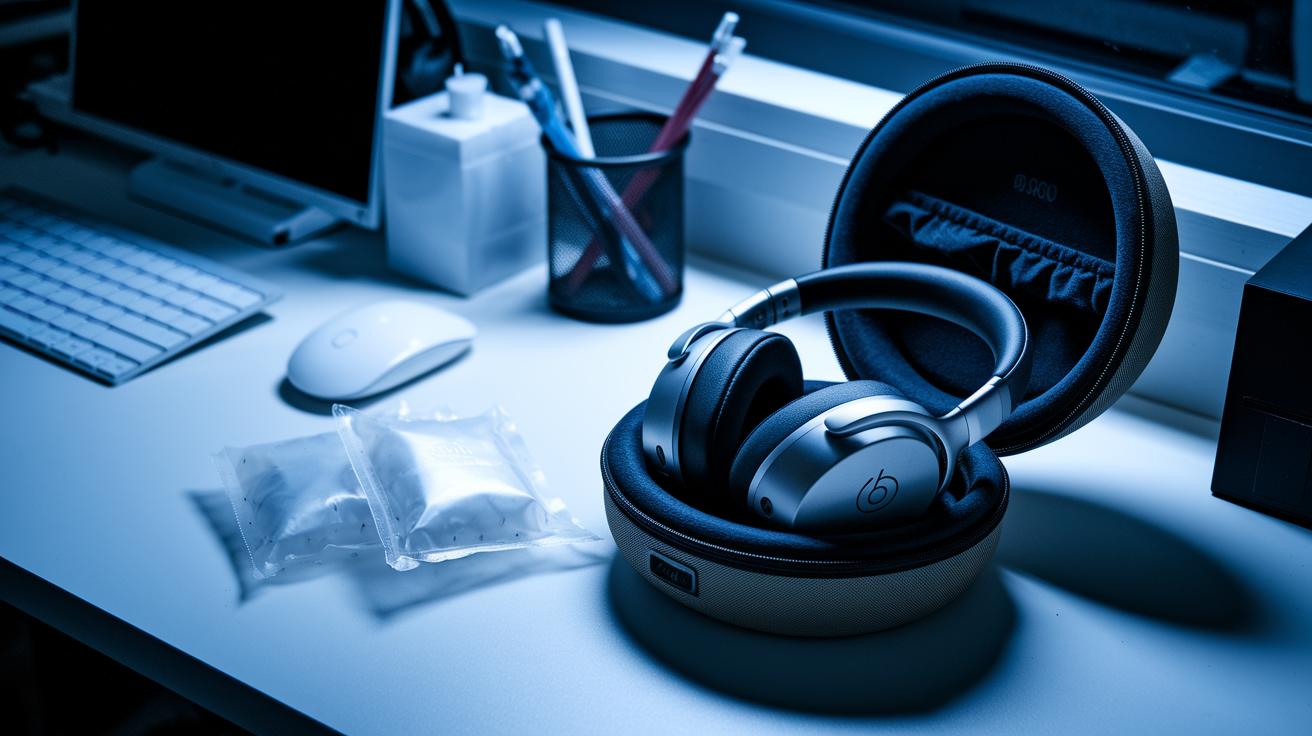
Taking good care of your high-end headphones is almost as critical as keeping them clean. Use the original case or a reliable third‑party option in a dry, dust‑free area to protect your gear from dirt and moisture. Pick a spot that doesn’t get direct sunlight or humidity. If you’re in a damp environment, try popping a couple of silica gel packs in your case to keep condensation away from sensitive parts.
Before putting your headphones away, give the ear pads and cables a gentle wipe with a soft, dry cloth to brush off any dust or oils. For foldable designs, follow the manufacturer’s instructions carefully to avoid stressing the hinges or connectors. Unplug your headphones when they aren’t in use to ease strain on the audio jack and internal wiring. These simple steps help keep your equipment in top shape, ensuring every listening session sounds as good as the first.
Handling and Cable Care Advice for Audiophile Headphone Maintenance
When you use high-end headphones, taking care of the cables is essential to keep the sound clear and the gear lasting longer. Always grab the connector housing instead of pulling on the cable itself; this simple habit helps reduce stress on the internal wires. Before every session, give the cable and connectors a quick check for any small nicks or frays, catching these early prevents bigger issues later.
If you encounter any tangles, work them out slowly and gently instead of tugging hard; this avoids breaking the internal wires. When it's time to coil the cables, loop them loosely around the headband or secure them with a detachable strap. This loose coil keeps the cable from bending sharply, which can damage it over time. Also, remember to keep your cables away from heat sources and tight spaces since both can harm the delicate components.
By following these simple tips, you protect your headphones from damage and ensure the audio signal stays strong and uninterrupted. Regular care means every listening session will deliver the clear, high-quality sound that true audiophiles expect.
Maintenance Routines for Audiophile Headphone Schedules and Checklists
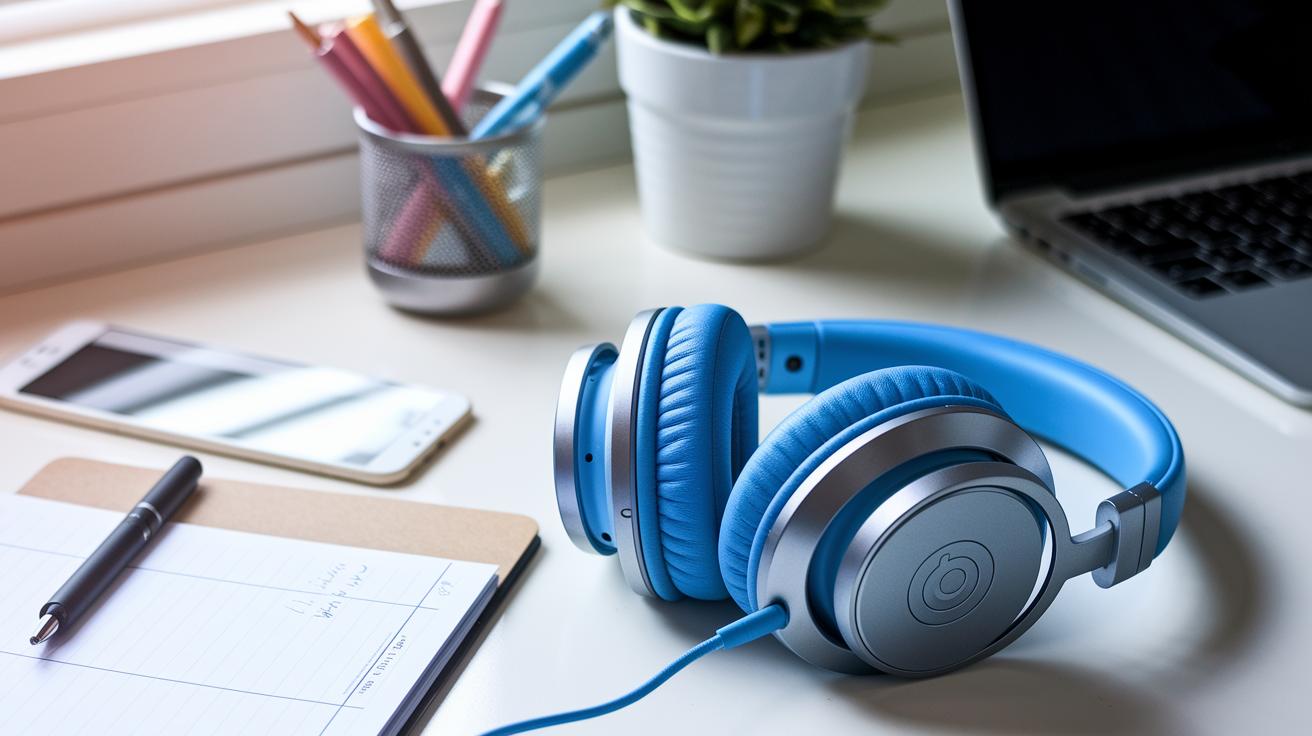
Keeping your headphones in top shape is easier with a steady maintenance routine. A little care can stop small problems from turning into big headaches later. Each week, give your headphones a quick look to check the ear pads, cables, and jacks for wear, and after every use, gently wipe away dust. Once a month, dig a bit deeper: clean the acoustic grills and pads thoroughly to keep the sound crisp. Keeping a simple log of what you notice can help you decide if and when extra care or professional repair is needed.
- Daily routine: Lightly dust them off after each session and unplug them when you're not using them.
- Weekly routine: Visually inspect the ear pads, cables, and jacks for any signs of wear or damage.
- Monthly routine: Deep-clean the grills and pads, and note any changes in sound or visible damage.
Regular cable checks and overall inspections not only help your headphones perform well, but they also support the manufacturer's warranty, which often lasts up to five years. A disciplined, easy-to-follow schedule helps protect your investment and lets you enjoy a clean, clear listening experience every time.
Audiophile Headphone Maintenance Tips: Enjoy Pristine Sound
Your ear pads pick up sweat, oils, and skin particles from regular use, which can affect comfort and the essential sound seal. We suggest cleaning foam or silicone ear pad inserts with a cloth lightly dampened in diluted isopropyl alcohol. Wipe gently and pat them dry to avoid excess moisture that might harm the material. Regular cleaning helps keep the sound clear and the pads hygienic.
It's smart to check your ear pads often. Look out for signs like flattened foam, tears in the cover, or worn mounting rings. Early spotting of these issues can help you keep the sound isolation optimal and avoid sudden replacements.
- Look for sweat or oil residue by giving the cushions a quick visual once in a while.
- Clean the ear pads with a gentle solution made by diluting isopropyl alcohol.
- Use a soft, dry cloth to pat the pads completely dry before reattaching them.
- Notice any changes in texture, such as foam compression or minor tears, as signals that a replacement might be needed.
- Stick to manufacturer-approved replacement kits to guarantee continued comfort and preserve your warranty.
Replace your ear pads every 12-18 months or sooner if you see noticeable wear. With regular care, your headphones will keep delivering the pristine sound they were designed for.
Specialized Maintenance for Delicate and High-End Audio Components
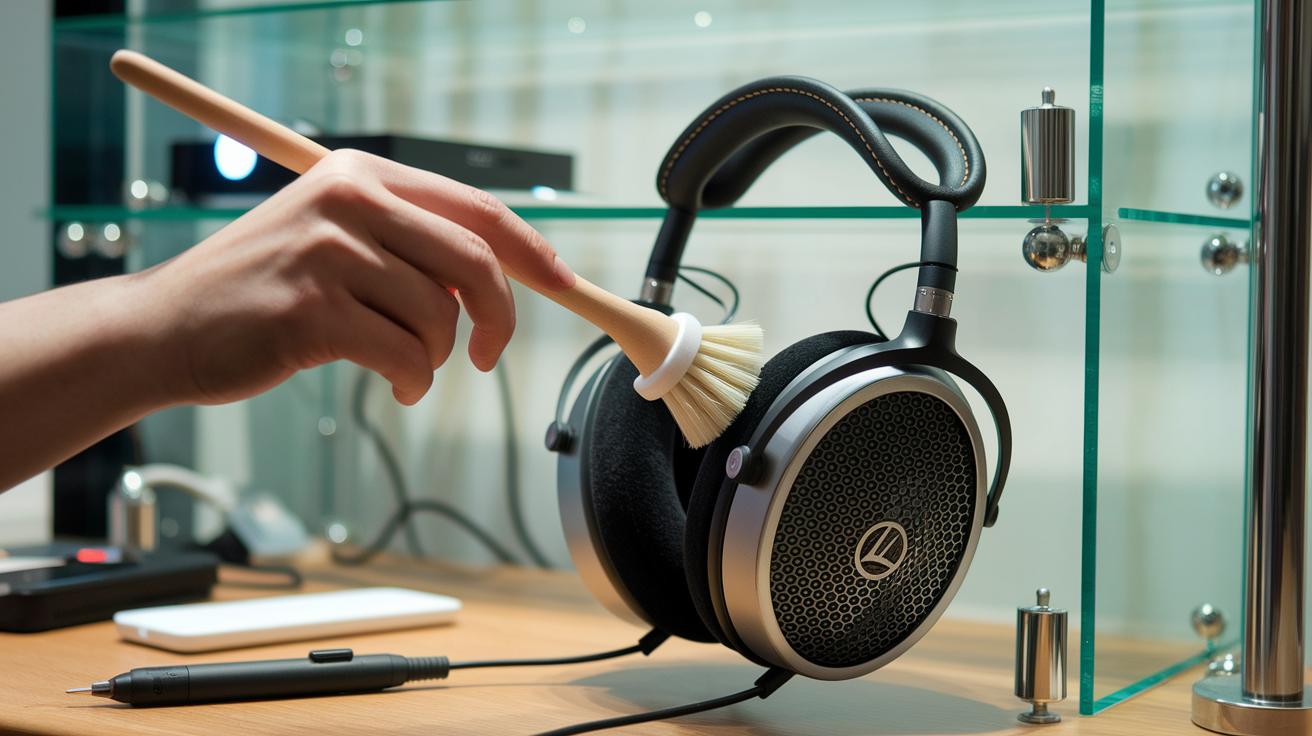
Cleaning your high-end audio gear takes a gentle touch. When you’re handling in-ear monitors or open-back drivers, always check the manual first to keep any liquids away from the driver vents. A soft-bristled brush can quickly remove dust from grills and reach spots you might otherwise miss. Be extra careful when cleaning folds, seams, and acoustic panels so you don't push dirt further into the delicate parts. And always wait until every component is completely dry before putting everything back together, as even a little moisture can damage your expensive equipment.
Stick to approved cleaning solutions. Using something untested might harm finishes or sensitive materials. Below is a table with cleaning agents recommended by manufacturers, the surfaces they work on, and how often you should use them:
| Cleaning Agent | Compatible Materials | Recommended Frequency |
|---|---|---|
| Microfiber Cloth with Mild Solution | Acoustic grills, outer surfaces | After every use |
| 70% Isopropyl Alcohol (diluted) | Removable rubber tips, foam ear pads | Bi-weekly |
| Soft-Bristled Brush | Folds, seams, internal grilles | Weekly or as needed |
This careful routine not only helps you keep your sound clear and pristine but also extends the life of your audio components by avoiding damage from improper cleaning methods.
Preventing Common Damage in Audiophile Headphone Maintenance
Keep your headphones in top shape by cleaning them as soon as any sweat or liquid shows up. Grab a soft, lint-free cloth and gently wipe away any spills to protect the inner parts.
When you're not using them, store your headphones in their case with a few silica gel packs. These packs help control moisture and keep the materials in good condition. Also, avoid placing them in direct sunlight or near heat sources to maintain their stability.
For open-back models, add extra care by placing dust caps on unused jacks and using grill covers to keep debris out. A quick clean of the ear cups with a gentle brush and cloth helps ensure that nothing blocks the sound.
Final Words
In the action, we broke down essential cleaning steps, safe storage, careful cable handling, and regular inspection routines. We laid out a clear checklist for preserving sound clarity and extending the life of your high-end gear. Follow these audiophile headphone maintenance tips to keep your equipment performing at its best. Regular care and timely earpad replacement go a long way, ensuring a consistent and immersive audio experience. Enjoy the crisp sound and reliable performance that comes with a well-maintained setup.
FAQ
What are top audiophile headphone maintenance tips recommended on Reddit for wired models?
The Reddit tips recommend regular gentle cleaning using a microfiber cloth, careful cable handling, and avoiding harsh chemicals to protect wiring. They also suggest routine inspections and using mild cleaning solutions.
How do you take care of headphone leather and use leather conditioner effectively?
Taking care of headphone leather means gently cleaning it with a soft cloth, then applying a safe leather conditioner to restore moisture. This method helps maintain the material and prevent damage.
How should you store headphones in a bag?
Storing headphones in a bag means placing them in a padded case in a clean, dry environment. This protects cables and surfaces from dust, moisture, and accidental strain during transport.
How do you clean an IEM nozzle properly?
Cleaning an IEM nozzle involves using a soft-bristled brush or cloth lightly moistened with a mild solution to remove debris, ensuring you avoid excess moisture that could damage internal components.
How do you fix peeling leather on headphones?
Fixing peeling leather on headphones can involve gently cleaning the area and applying a specialized leather repair kit or conditioner designed for small repairs, helping to restore the material’s appearance and integrity.