
Ever thought your soundbar could bring concert-level quality using just one cable? With optical cables, sound turns into digital light. This trick cuts out the interference found in old analog wires. The result is clean, crisp sound, even in a room full of gadgets.
In this guide, we'll show you how picking the right optical cable can give your soundbar a boost. We'll cover the basics, from sturdy connectors to solid design features. A smart cable choice might be just what you need to enjoy a much richer listening experience.
Selecting the Ideal Optical Cable for Your Soundbar
When picking an optical cable for your soundbar, it's important to know the basics. These cables, often called Toslink cables, were first made to handle stereo sound and compressed 5.1 audio like Dolby Digital and DTS. They stay popular because they're simple and work reliably. Their design helps block interference from nearby devices, so your sound stays clear. Many soundbars from brands like Samsung, LG, Bose, and Sonos come with an optical input, making them an easy choice.
Another key point is checking out the connector type and how sturdy the cable is. Optical cables have a protective cover and strong connectors that stand up to everyday use. They send audio as a digital light signal, which keeps multichannel sound clear without any loss in quality. Think of it like getting an unfiltered signal in a busy, noisy room, that's what these cables are made to do.
Also, consider durability, bandwidth, and compatibility with your devices. While optical cables are great for formats like Dolby Digital and DTS, they work best with compressed audio. If your setup relies solely on optical connections, these cables offer a noticeable boost over regular analog wires. In many home systems, the mix of good performance and easy use makes an optical cable a solid addition to your soundbar setup.
Optical Cable for Soundbar: Perfect Sound Upgrade
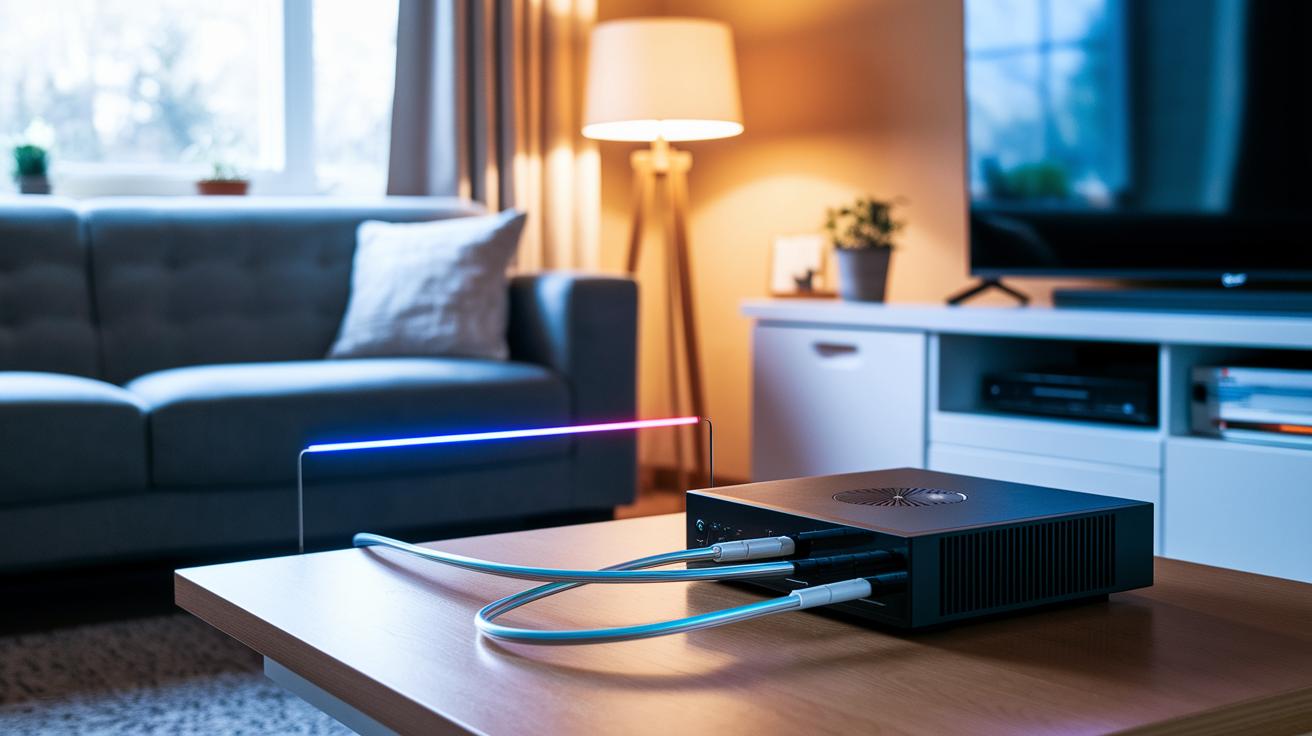
Optical cables turn your audio into digital light that zips through standard TOSLINK connectors. This means you avoid the static noise that comes with older analog wiring. The digital method keeps every bit of your audio file intact, so formats like Dolby Digital and DTS sound clean and precise. In fact, transferring audio as light helps cut out interference, even in setups crowded with electronics.
Analog cables, on the other hand, send sound as electrical signals. They can pick up stray interference and lose quality over long runs or with aging wires. Optical audio skips these issues by creating a steady digital link between devices. It’s a true plug-and-play solution that boosts sound performance from your TV or receiver straight to your soundbar, giving you a crisper, more reliable listening experience.
Soundbar Connectivity Guide: Step-by-Step Optical Cable Installation
First, switch off your TV and soundbar for a safe setup. Optical cables are a cinch to use and can quickly improve your sound system. Start by taking off the protective caps from both ends of your cable. Then, find the optical output on your TV (it’s usually marked clearly) and locate the matching input on your soundbar. This input might be labeled AV1 or just Optical In. Following these steps gets you set up with a secure physical connection.
• Remove the protective caps from both ends
• Find your TV’s optical out port
• Identify your soundbar’s optical in port (look for labels like AV1 or Optical In)
• Insert the cable firmly until you hear a click
• Change your TV’s audio output to Optical in the settings
• Set your soundbar to optical mode
After the cable is in place, power your devices back on. Go to your TV’s audio settings and select the Optical output so the digital signal is sent to your soundbar. At the same time, change the soundbar to its optical input mode. This setup ensures you get a clear, crisp audio experience compared to what you’d get from built-in speakers or analog connections. With just a few taps on your remote and a quick check of the physical connections, you can easily optimize your home theater setup.
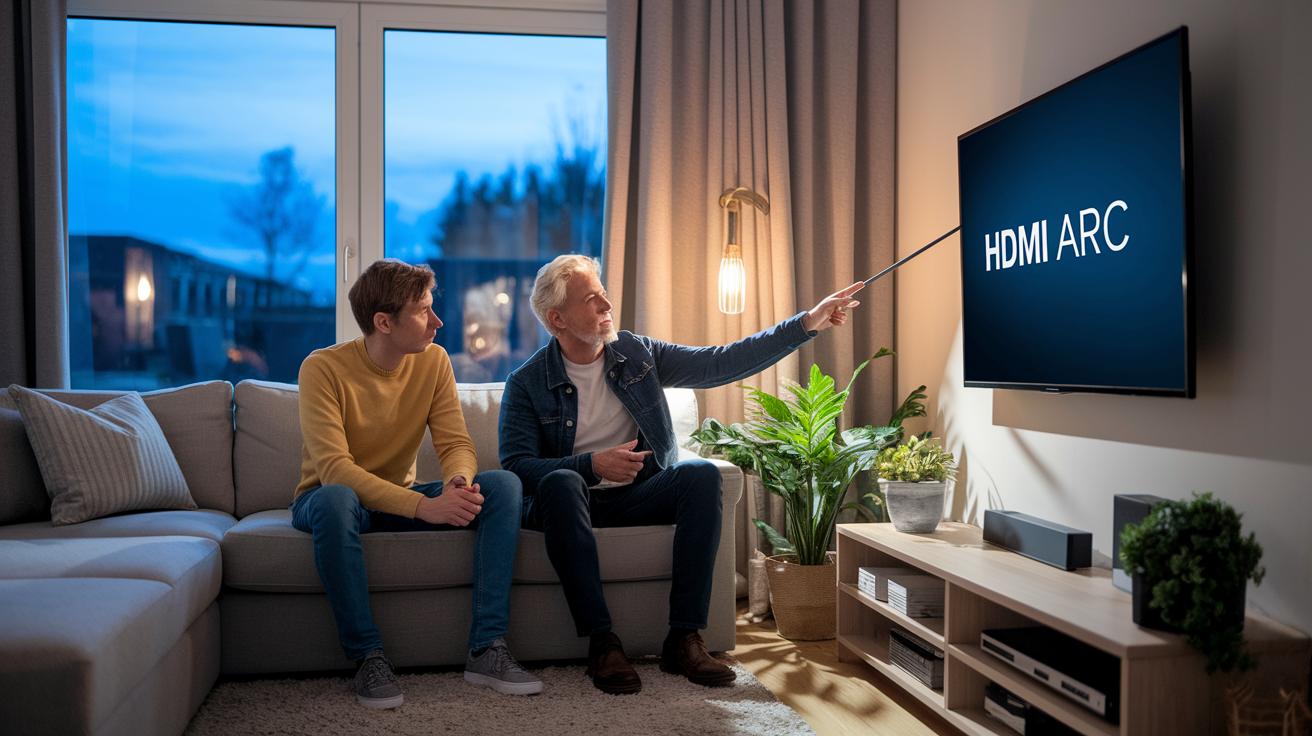
Comparing Optical Cable vs HDMI for Optimal Soundbar Audio Quality
Optical cables have been a popular choice for years because they work reliably and simply. They send compressed audio formats like Dolby Digital and DTS 5.1 using digital light signals that avoid interference. However, they have a bandwidth limit. That means they work well for basic sound systems, but they cannot handle high-bandwidth formats like Dolby Digital Plus, which is important if you want Atmos-enabled content. If Atmos is what you need for that extra immersive sound, an optical cable might not cut it.
HDMI ARC offers more flexibility by handling both video and higher-quality audio signals. With HDMI ARC, you can enjoy advanced compressed formats like Dolby Digital Plus, which brings a richer and more engaging sound experience. A simple change to add HDMI ARC to your system can improve vocal syncing, give you better control integration, and boost overall audio performance. It is a modest upgrade that can make a big difference.
Going a step further, newer HDMI eARC cables offer even more bandwidth so they can support uncompressed formats like Dolby TrueHD and DTS:X. This takes your listening experience to the next level, especially if you care about every little detail in your audio. When you pair a soundbar with modern receivers and high-end speakers, upgrading from optical to HDMI is clearly the better choice. Embracing HDMI features not only improves your current setup but also prepares you for future audio innovations.
Troubleshooting Soundbar Optical Cable Connections
If your soundbar’s sound isn’t clear, start by checking some common connection mistakes. Often, the cable still has its protective caps on, which stops it from making a full connection. Sometimes the TOSLINK connectors can slip out of alignment or wear down from everyday use, which can cause the sound to cut in and out.
It helps to double-check your TV settings too. Make sure your TV is set to send sound through the optical port and that the soundbar is set to the right input channel. These small oversights can often be the reason your audio isn’t as good as it should be.
If everything looks right, try swapping the cable or plugging it into a different port on either the TV or soundbar. And if the issue still remains, the problem might be a faulty optical cable. Testing with a cable that you know works can help pinpoint the issue and get you back to clear, steady sound.
Choosing Between Premium and Affordable Optical Cables for Your Soundbar
Picking the right optical cable for your soundbar might seem small, but it makes a big difference in keeping your sound clear and steady. Basic cables usually cost between $10 and $15 for a 1-meter length. They do the job well for everyday home setups with standard digital connections and make sure your sound comes through without any hassle.
Stepping up a bit, mid-range cables cost between $15 and $25. These cables often have thicker jackets and gold-plated connectors that help them last longer, especially if you move your setup around a lot. The extra durability can keep your audio signal strong over time without any extra fuss.
If you need the best performance, premium cables are priced from $25 up. They include reinforced strain relief and high-quality connectors that are designed for setups where the cable might get a lot of movement or is used for long sessions. Even though the price difference is small, the build quality really helps in protecting your audio signal in the long run.
| Cable Model | Length | Price | Key Feature |
|---|---|---|---|
| Entry-Level Cable | 1m | $10–$15 | Reliable performance |
| Mid-Range Cable | 1m | $15–$25 | Thicker jacket and gold connectors |
| Premium Cable | 1m | $25–$30+ | Reinforced strain relief and high-grade connectors |
Optimizing Soundbar Performance with Proper Optical Cable Length and Care
Picking the right optical cable length really makes a difference in your soundbar's performance. In most living rooms, a cable run of up to 5 meters works well without noticeable signal loss. If you need something longer, opt for a higher-quality cable to keep your audio clear. Avoid tight bends and direct sunlight to protect the cable from damage. Even though optical cables aren’t affected by electromagnetic interference, a secure setup can only help.
Keeping your cable neat not only looks great but also shields it from wear and accidental tugs. Using simple tools like cable clips or ties to run the cable along walls or behind furniture stops kinks and stress. This organized approach helps your cable deliver crisp, uninterrupted sound every time.
Final Words
In the action, we walked through optical cable basics for soundbars, detailed the plug-and-play setup, and compared digital connections against HDMI alternatives. You saw clear tips on troubleshooting, as well as factors influencing durability, bandwidth, and installation simplicity. We also weighed cost versus performance, making it easy to decide if a premium or budget option fits your audio needs. Thanks to these insights and the practical optical cable for soundbar recommendations, you can enjoy crisp sound and a setup that truly works for your space.