
Ever feel like installing a smart doorbell sounds more like a hassle than it's worth? You're not the only one. Many homeowners pause at the idea of dealing with wires or mounting a system. With clear and practical guidance, though, you can tackle the job without breaking a sweat.
In this guide, we share seven straightforward tips that work for both battery-powered and wired doorbells. These steps aim to boost your home’s security while keeping your DIY project stress-free and effective.
Ready to give your front door a makeover? Let’s dive into some practical and easy-to-follow advice that makes installation simple and satisfying.
Step-by-Step Smart Doorbell Installation Guide
This guide shows you how to install smart doorbells, whether they are battery-powered or wired. Follow these clear instructions to boost your home security with a DIY upgrade. We cover everything from charging your battery doorbell to safely handling low-voltage wiring on a wired model.
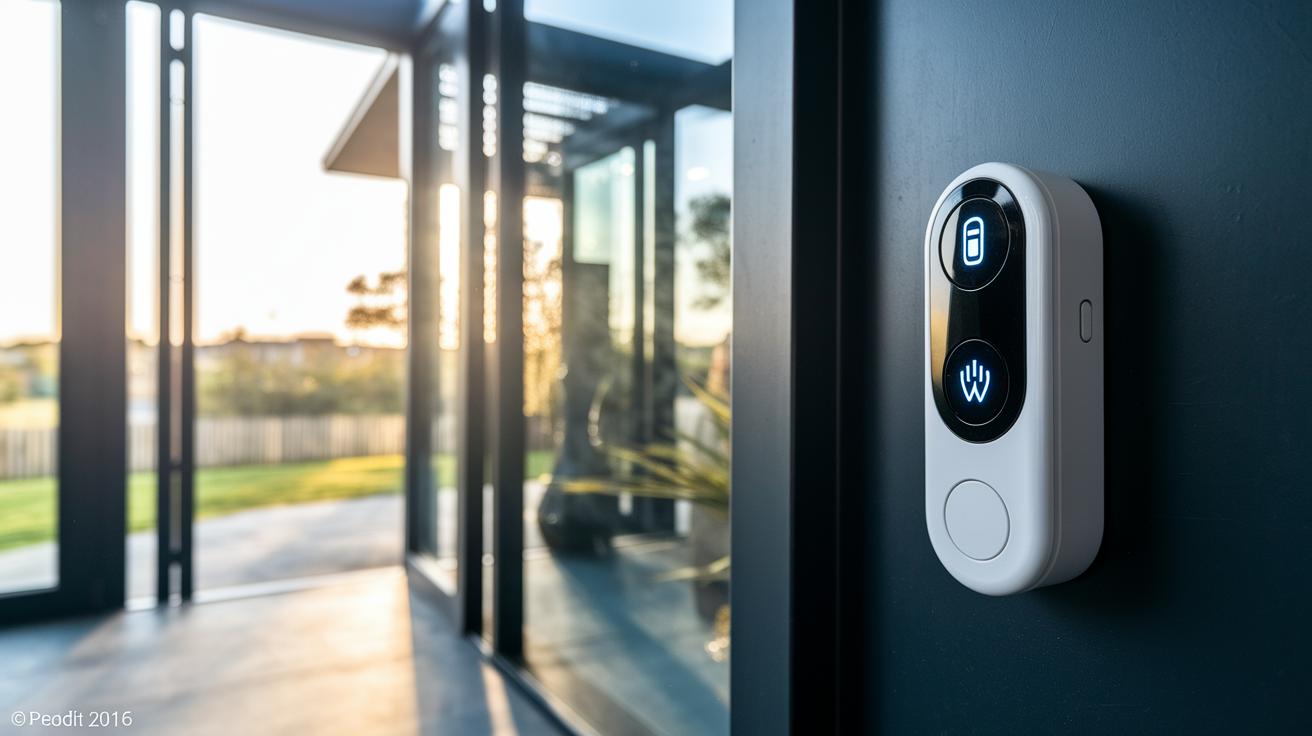
Battery-Powered Smart Doorbell Installation
Begin by fully charging your doorbell’s battery. Once it’s charged, open the app and pair your doorbell with your smartphone. It’s like syncing a new speaker; a smooth connection makes all the difference in everyday use.
Next, mount the doorbell using the screws, wall plugs, and any adjustable mounting plate provided. Start by drilling small pilot holes on your chosen surface. Insert the wall anchors and then secure the doorbell with the supplied security screw. This step locks the device in place for safe and reliable performance.
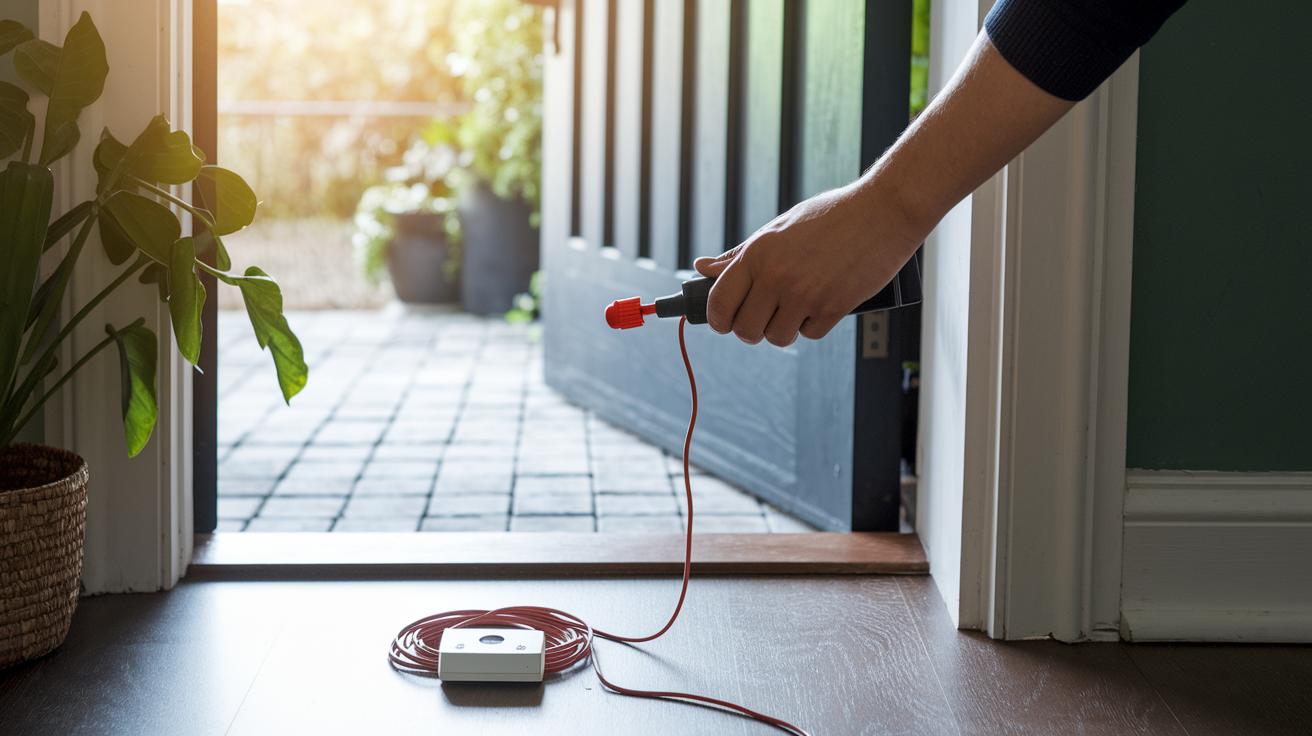
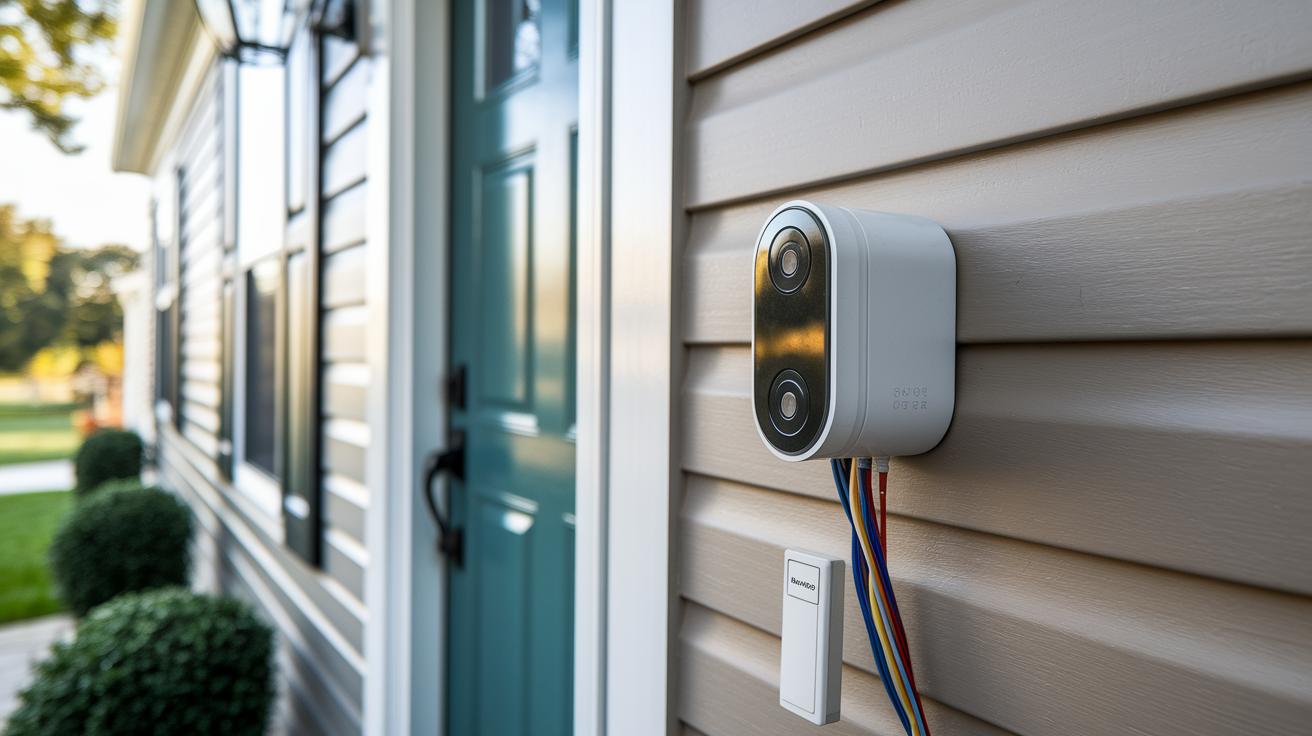
Wired Smart Doorbell Installation
First, switch off power at your circuit breaker or fuse box to ensure your safety. Use a voltage tester to confirm that there is no current running through the wires. Check that your transformer supplies between 8 and 24 VAC at 50 or 60 Hz and between 8VA and 40VA. This helps avoid compatibility issues and keeps your installation running smoothly.
Then, install the bypass cable to connect your new doorbell with your existing chime. Carefully remove the old doorbell, mark the new mounting spots, and attach the front and transformer wires according to the manufacturer’s instructions. This ensures that your chime will keep working even after the old doorbell is replaced.
Finally, align the mounting bracket correctly, insert the matching wall anchors, and secure the wiring tightly. Once you restore power, allow the doorbell to reconnect to Wi-Fi. Use the doorbell’s app to complete the setup.
Your smart doorbell is now ready for use, giving you upgraded home security through a safe and straightforward DIY installation.
Performance, Cost, and Safety Differences Between Battery and Wired Smart Doorbells
When choosing a smart doorbell, it's key to understand how battery and wired models differ in performance, cost, and safety. Battery-powered doorbells run on rechargeable batteries that typically last between 6 and 12 months. They offer an easy, no-fuss installation because you don't have to deal with complex wiring. Wired doorbells, however, use a continuous low-voltage power supply (8–24 VAC) and, while they deliver uninterrupted power, they require extra setup steps like turning off the circuit and verifying voltage levels.
| Aspect | Battery Model | Wired Model |
|---|---|---|
| Power Supply | Rechargeable battery (6–12 months) | Continuous low-voltage (8–24 VAC) |
| Installation Complexity | Easy – no wiring | Needs wiring and transformer |
| Cost Range | $59–$129 | $99–$199 |
| Safety | Low electrical risk | Turn off circuit and test voltage |
The bottom line is that your choice depends on what matters most to you. If you prefer a simple, no-wiring install with minimal electrical risk, a battery-powered doorbell is a smart pick. But if you value constant power and are comfortable taking a few extra safety steps during setup, then a wired doorbell could be the better option.
Essential Tools and Materials for Smart Doorbell Installation
Before you start your smart doorbell project, make sure you have all the right tools and materials nearby to keep your workspace neat and safe. Being prepared means you won't have to pause midway or deal with unexpected issues.
Collect both the usual tools and items meant specifically for the doorbell kit so you can complete the install without any hiccups. A good plan makes the job smooth and helps you set up securely and efficiently.
- Drill
- Screwdriver
- Level
- Voltage tester
- Wire stripper
- Electrical tape
- Wall plugs/anchors
- Security screwdriver
Having these items ready gives you the confidence to tackle each step smoothly. With a solid checklist, you can manage drilling, mounting, and wiring without interruptions. A tidy work area not only speeds up the process but also keeps surprises to a minimum.
Checking Transformer Compatibility and Preparing Door Chime Wiring
Before you start, make sure your transformer meets the needed electrical specs. Turn off the power (use a voltage tester) and connect a bypass cable if you're adding it to an existing chime.
| Parameter | Required Value | Notes |
|---|---|---|
| Voltage | 8–24 VAC | Fits with smart doorbell requirements |
| Frequency | 50/60 Hz | Matches typical household power |
| Power Rating | 8–40 VA | Helps you choose the right transformer size |
Once you’ve completed these steps, take a final look at your setup to ensure everything follows the guidelines. This check will help you wire safely and make sure your chime works properly.
Integrating Your Smart Doorbell with Wi-Fi and Home Automation
Once your doorbell is physically in place, plug it in and make sure your router is set to the 2.4 GHz band. A strong, stable connection is vital, so check that the doorbell is close enough to your Wi-Fi router before you go any further. This step lays the foundation for a hassle-free smart home setup.
Next, take a look at your Wi-Fi environment. Keep other electronic devices from disrupting the doorbell's signal by positioning your router to cover your front entry. You might also want to adjust the channel settings to steer clear of interference. These tweaks help secure a steady link for smooth video streaming and instant notifications.
Open the doorbell’s app and follow the pairing instructions step by step. When prompted, update the firmware to enjoy improved performance and security. Keeping the software updated is key to a reliable and safe user experience.
Finally, tie your doorbell into your home automation system by connecting it with smart devices like Amazon Alexa or Google Home. Simply follow the connectivity steps in the app to activate voice control and notifications, and soon your doorbell will serve as a hands-on guardian of your smart home.
7 smart doorbell installation tips for smooth process

When setting up your smart doorbell, you might run into a few hiccups. It could go offline, the chime might not ring, or the video could lag. First, make sure the doorbell and its app are connected properly and check for any error messages that might point to the issue.
Next, verify that all power sources and wiring connections are secure. Use a voltage tester to ensure the transformer is supplying 8–24 VAC (a measure of voltage) at the correct frequency, and double-check that you’ve entered your Wi-Fi details accurately in the app.
If your doorbell isn’t ringing, inspect the wiring closely and try resetting it. Turn off the device for a few seconds, then restart the pairing process through the app. Follow each prompt carefully and adjust any audio settings that could be affecting the chime.
For video lag issues, review your network settings and confirm that your router is on the recommended channel for the best performance.
If network problems continue, try rebooting your router or placing a Wi-Fi extender near the doorbell to boost the signal. Finally, go over all your wiring and device settings one more time to make sure nothing was overlooked during installation.
Cost and Professional vs. DIY Smart Doorbell Installation Considerations
Smart doorbells come in a wide range of prices. You can grab a basic battery-powered model for around $59 or opt for a high-end wired one that costs up to $199. There is something for everyone, whether you just want simple alerts or need advanced video features and smart integration for a complete home security setup.
If you decide to have a pro handle the installation, expect to pay between $100 and $200. This fee typically covers safely mounting the doorbell, checking that the transformer meets the required specifications (the transformer is what powers the doorbell), and taking care of any low-voltage wiring needed. Many homeowners prefer this route for a hassle-free, expert setup.
On the other hand, doing it yourself can save on labor costs but might bring extra expenses. You might need to buy some essential tools such as a drill, screwdriver, or level if you don't already have them. And if your existing transformer doesn’t meet the power requirements, you may even call in an electrician to upgrade it. Weigh these additional expenses against the savings before deciding which installation method works best for you.
Smart Doorbell Installation FAQs and Safety Precautions
Before you begin, take a moment to run through the safety checks in your installation guide. This part covers the unique questions and tips specific to smart doorbell setups, so you won't have to wade through all the general safety details again.
Will my doorbell chime work with a smart doorbell?
Your current doorbell chime can work with a smart doorbell if it meets the voltage and wiring requirements listed in the guide. Check its specifications to confirm it can connect without needing major changes.
Do I need to replace my transformer for a smart unit?
You only need a new transformer if your existing one doesn’t supply between 8 and 24 VAC with an 8–40 VA rating. Compare your transformer’s numbers with the guide before deciding on a switch.
How secure is a wireless smart doorbell?
Wireless models rely on encrypted Wi-Fi signals to keep your connection secure. They offer solid protection against unauthorized access, but it’s still wise to use a strong, unique Wi-Fi password.
These points zero in on the specific concerns for your smart doorbell installation while leaving the broader safety steps to the detailed guide. This way, you can focus on ensuring compatibility and security for a smooth DIY experience.
Final Words
In the action, we walked through each step, from checking transformer compatibility and mounting your doorbell to setting up Wi-Fi and troubleshooting common issues. This guide breaks down battery and wired options, compares costs, and lists the tools you need for a seamless experience.
Every section provides clear directions to help you achieve a smooth smart doorbell installation. Enjoy the process, gain confidence in your setup, and look forward to a safer, connected home.
FAQ
What installation services and resources are available for smart doorbells?
The available installation options for smart doorbells include DIY guides, installation videos like the Enway Smart doorbell installation video, local service providers, and professional installation services for those preferring expert help.
How do you connect a smart doorbell to your phone and Wi‑Fi?
Connecting a smart doorbell to your phone and Wi‑Fi involves pairing the device through its dedicated app, following clear setup instructions, and ensuring a stable 2.4 GHz connection for effective operation.
How do you install a smart doorbell, including models with one button?
Installing a smart doorbell starts with powering or charging the unit, then mounting it with screws and wall plugs, and finally completing the pairing process via the app for a simple and secure setup.
How does the Smart Home Video Doorbell app function?
The Smart Home Video Doorbell app offers user-friendly setup guidance, live video streaming, door activity notifications, and management tools that let you customize settings all from your mobile device.
Do you need an electrician to install a doorbell?
Whether you need an electrician depends on the model; battery-powered doorbells typically require no wiring, whereas wired models might benefit from professional help if you’re unfamiliar with low-voltage electrical work.
How much does it cost to install a smart doorbell?
The cost to install a smart doorbell varies; doorbell kits range from about $59 to $199, and opting for professional installation can add around $100 to $200 to your overall expense.
What are the disadvantages of a smart doorbell?
Smart doorbells may come with privacy concerns, occasional connectivity issues or video lag, and for wired models, the setup can be more challenging due to the need for handling wiring and safely powering the unit.