
Ever tried setting up your Ring doorbell only to feel confused by a tangled wiring diagram? Our simple guide treats the diagram like a clear roadmap. It shows you exactly where the transformer, chime unit, and all the essential connections go. Follow these steps, and you'll have your doorbell up and running safely and quickly, keeping your home secure without any extra hassle.
Understanding Your Ring Doorbell Wiring Diagram
This diagram is like your map to setting up your Ring doorbell safely. It points out the transformer that sends low-voltage power, the chime unit that rings when someone presses the button, and where the doorbell wires connect to the Ring device. The diagram uses simple labels and color codes, so for example, red might be used for power and white for neutral. This helps make sure each connection is in the right place.
A typical installation uses a transformer that supplies between 8 and 24 VAC. The diagram clearly shows where this transformer hooks up to the doorbell circuit and highlights the correct terminals. You’ll also see where to place any jumpers needed for the doorbell or chime unit. If you have a setup without a built-in chime, the diagram recommends using a chime adapter to keep things working smoothly.
It also includes a version for chime-less setups, showing how to bypass the chime yet still get a safe wiring job done. There’s even a step-by-step guide, so you know exactly where every wire goes before you start. Think of it like planning your route on a city map, each connection is a street that leads you to safe, reliable power and proper function.
Essential Tools and Components for Ring Doorbell Wiring
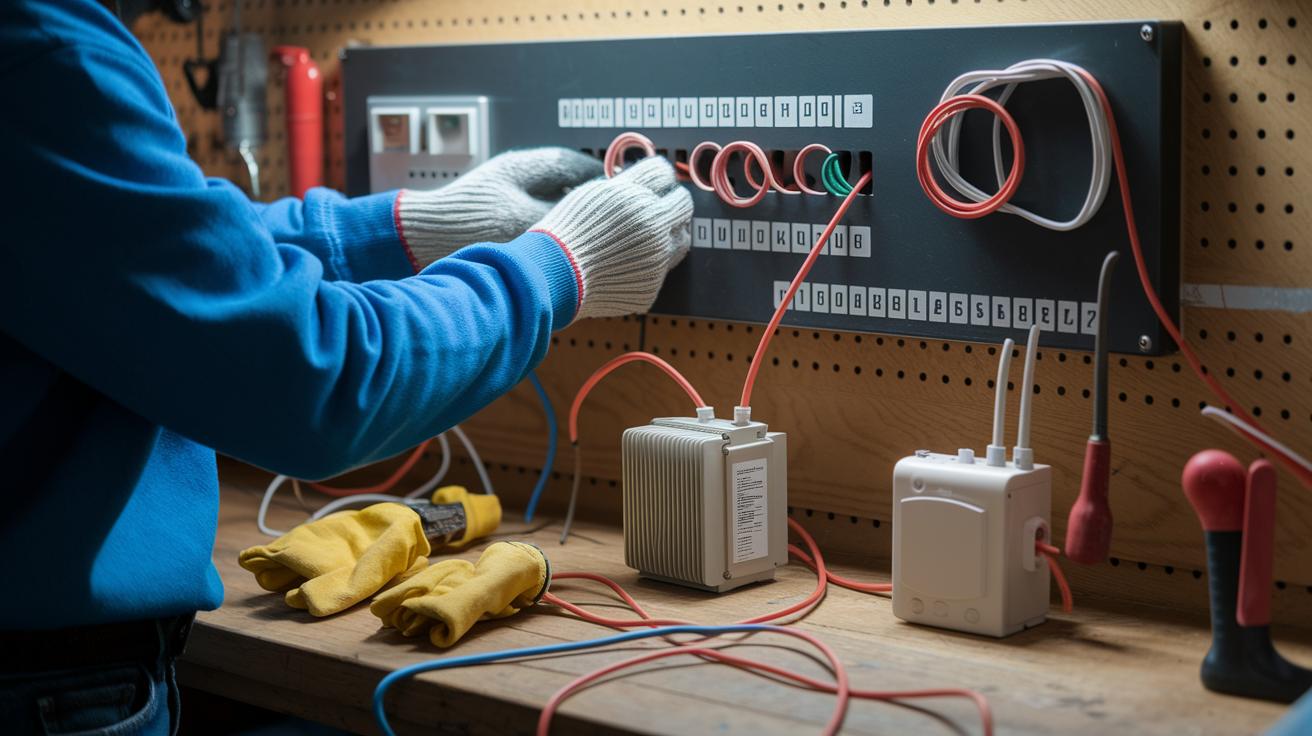
Before you start, make sure you have all your tools ready. A voltage tester (this checks if wires are live) keeps you safe when working with electricity. Use a wire stripper to remove insulation cleanly so your connections hold tight. A drill with both masonry and wood bits makes proper mounting holes, and a screwdriver set helps tighten screws and brackets easily. The mounting bracket holds your Ring doorbell securely in place, even outside.
On the component side, you'll need the Ring Video Doorbell unit and a transformer that offers 8–24 VAC power. The chime connector kit connects your doorbell wiring to a home chime system. Extra low-voltage cable ensures a steady path for power between connection points. And a weatherproof sealant protects the exposed wiring from moisture.
Using these tools and parts makes setup simpler and safer. For example, confirming that the wires are off with a voltage tester before drilling or stripping makes all the difference.
Step-by-Step Ring Doorbell Wiring Installation Guide
-
Before you begin, switch off the power at your circuit breaker. Use a voltage tester to double-check that the wires are truly dead so you avoid any shocks.
-
Remove your old doorbell and carefully expose the transformer and chime wires. This step helps you understand how the existing wiring is arranged so you can plan your new setup.
-
Run a new low-voltage wire from the transformer to where your doorbell will be. Lay the cable along a clear, secure path, steering clear of sharp edges and moving parts. Leave a bit of extra wire to prevent any tension on your connections.
-
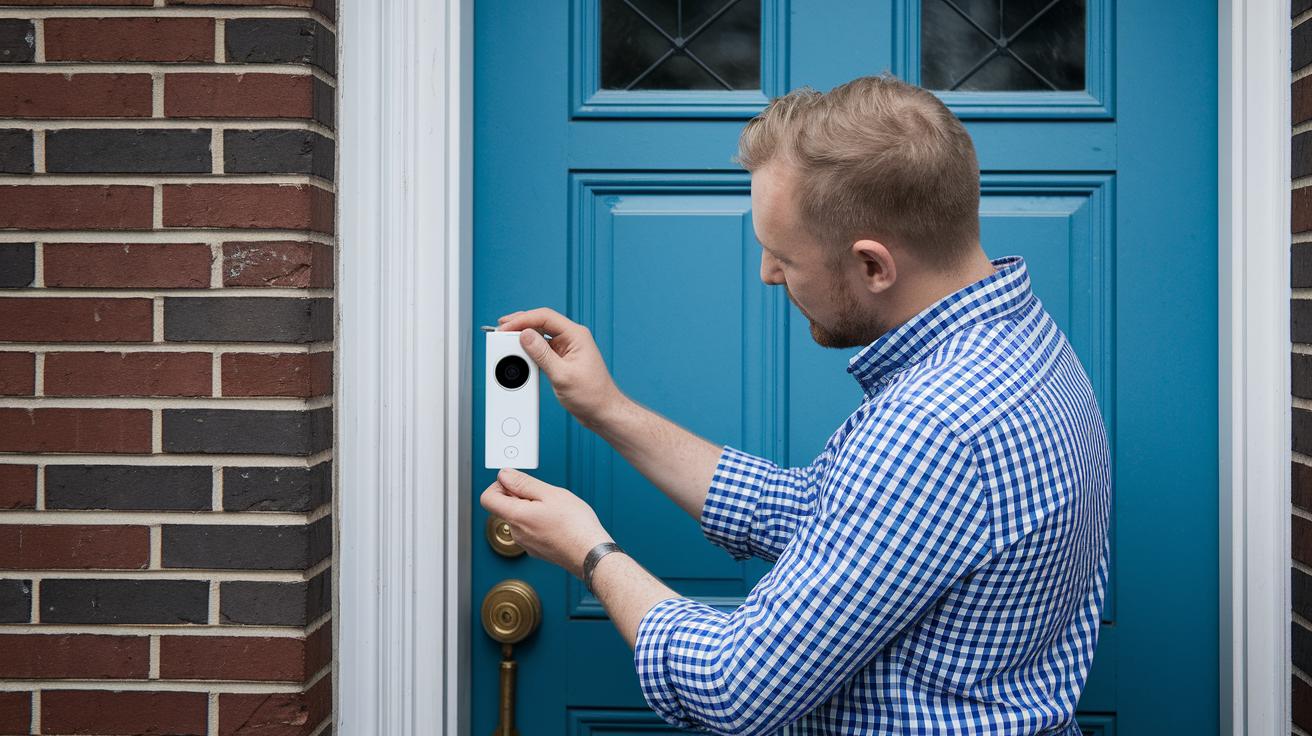
Connect the wires to the “Front” and “Trans” labels on your Ring doorbell. Firmly attach each wire to its matching terminal to ensure the doorbell gets the right voltage and works as expected.
-
Mount the plate to your wall using a level to keep it straight. A secure and correctly aligned mounting not only looks neat but also helps the doorbell stay in place over time.
-
Turn the circuit back on and test your installation. Press the doorbell button to check that it powers up and rings correctly, confirming that every connection is tight and secure.
Taking your time with these steps helps keep things organized and minimizes the chance of wiring errors during installation.
Ring Doorbell Transformer Installation and Voltage Requirements

Getting the right transformer is crucial for a secure doorbell setup. We suggest using a transformer rated 8-24 VAC with a 40 VA output. Installing it near your main breaker or junction box keeps the wiring short and tidy.
In the installation process, the transformer's primary side connects to your home’s 120 VAC power supply, while its low-voltage terminals send power directly to the doorbell circuit. Before you get started, check the transformer with a multimeter. Make sure its output stays within the 8-24 VAC range. A checklist can help you confirm it works with models like Ring Pro, Elite, and the original Video Doorbell.
Ensure both the high-voltage and low-voltage connections are secure and in line with local electrical codes. Use insulated tools and always follow safety precautions. Checking the voltage before and after you complete the connections can prevent any electrical hazards.
Integrating Legacy Chimes with Your Ring Doorbell Wiring Diagram
Begin by finding your current chime terminals. Many older chime systems use a jumper wire that needs to be removed before adding the Ring connector kit. For example, take out the jumper wire that links the doorbell and transformer lines.
Then, connect the front and trans wires from your Ring unit to the matching ports on the adapter. Think of the adapter as a bridge between your old wiring and Ring’s setup. Follow a simple diagram that shows where to splice the doorbell and transformer wires so the chime gets power correctly.
Here’s what to do:
- Remove the old jumper wire.
- Securely attach the front and trans wires to the adapter.
- Mount the adapter inside the chime housing.
After you install the adapter, make sure all connections are tight. Test it by pressing the doorbell button to see if the chime rings. If it doesn’t work, check your connections against a modern chime guide for proper alignment. Adjust any wiring that doesn’t match the diagram to ensure a smooth flow of power from the transformer to the chime.
Troubleshooting Ring Doorbell Wiring Diagram Issues
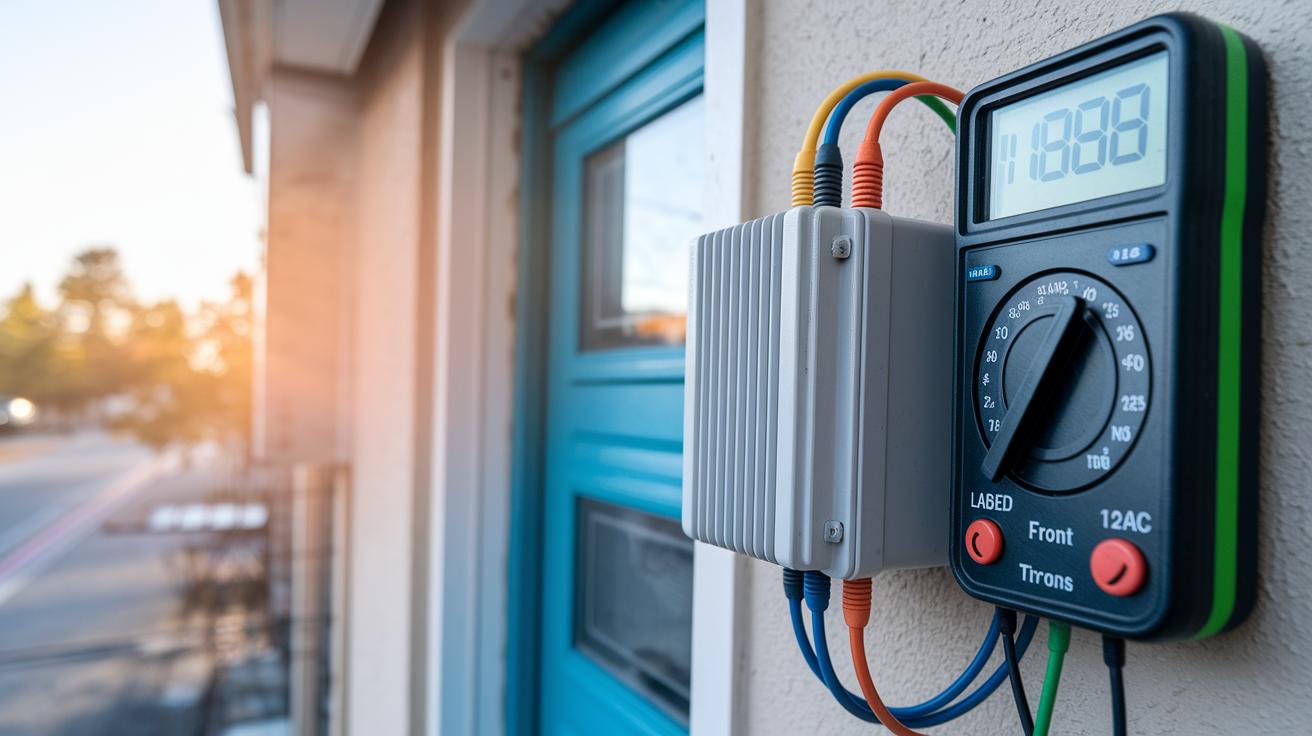
If your doorbell isn’t chiming, shows no power, or rings only sometimes, start by checking your transformer. Use a multimeter to see if it consistently outputs between 8 and 24 VAC. If you get a reading outside this range, the transformer might be the problem.
Next, take a look at the wiring at the “Front” and “Trans” terminals. Loose or even reversed wires can stop the doorbell from getting steady power. Make sure each connection is secure and matched correctly. Also, double-check that any jumpers on the chime adapter are in the right spot. A small mistake here can cause erratic behavior.
It’s also a good idea to test the wires for any breaks or damaged insulation. A break or thin spot in the low-voltage wiring can lead to a drop in voltage and affect your doorbell’s performance. Use insulated tools and follow local electrical safety codes while you work.
Here’s a quick checklist to follow:
- Verify transformer output (8–24 VAC)
- Check “Front” and “Trans” terminal connections for looseness or reversal
- Confirm correct jumper placement on the chime adapter
- Inspect wire insulation and test continuity
Working through this checklist step by step should help you get your doorbell working reliably again.
Compatibility Notes for Different Ring Doorbell Models in Wiring Diagram
Ring doorbells have different wiring needs based on the model you choose. For example, the Battery model comes with its own built-in power, which makes its wiring simpler. Still, if you want to work with your existing home chime, you may need to add a chime kit.
The Video Doorbell Pro, on the other hand, features an internal transformer that makes certain connections easier and removes the need for a separate power supply. It still requires an adapter to ensure the chime system gets the right signal and power.
Elite models need a bit more attention. They offer a hardwired solution using Power over Ethernet (PoE), which means data and power travel over one cable. This setup might need specialized adapters or retrofit solutions to ensure smooth installation. Extra connectors help deliver steady power and keep the chime operating reliably. For example, if you're integrating with other smart home devices like a smart lock wifi system, you might face additional wiring steps.
Be sure to check your model’s specific requirements so you can pick the right connectors, adapters, and wiring method for a safe and efficient setup.
Safety Best Practices for Ring Doorbell Wiring Diagram Installation
Start by choosing the correct wire gauge. We recommend using 18 to 22 AWG to keep the voltage steady and prevent overheating.
Wear essential safety gear like insulated gloves and safety glasses during setup. This extra protection makes the installation process safer and smoother.
Be sure to fix your transformer and doorbell components securely. This helps reduce stress on the wiring and ensures a long-lasting installation.
For more details on how to switch off the circuit breaker and check the low-voltage load, see the sections on transformer setup and installation.
Final Words
In the action, our guide explains every detail of your project, mapping out the transformer, chime, and terminal connections for a reliable setup. We broke down the ring doorbell wiring diagram, provided a step-by-step connection guide, and shared essential tools and safety tips. These hands-on instructions empower you to diagnose common issues and complete the install confidently. A clear, practical approach to installation sets you up for success. Enjoy the process and take pride in a secure and lasting doorbell solution.
FAQ
What are the common Ring doorbell wiring diagram variations?
The common Ring doorbell wiring diagrams feature different configurations such as 2-wire, 3-wire, and 4-wire setups. They include PDF guides, single and dual doorbell options, and versions for installations without a chime.
Which wire goes where on a Ring doorbell?
The wiring diagram shows the wire labeled “Front” connects the doorbell push button, while the “Trans” terminal attaches to the transformer. Correct connections ensure proper function and reliable performance.
How do you hardwire a Ring doorbell?
Hardwiring a Ring doorbell means cutting power, removing the old unit, running a low-voltage wire to the doorbell, connecting it to the “Front” and “Trans” terminals, securely mounting the unit, then restoring power.
What transformer do you need for a Ring doorbell?
The transformer for a Ring doorbell should supply 8–24 VAC with a 40 VA output. This power requirement ensures the doorbell operates safely and effectively during hardwired installations.
Does a Ring doorbell require special wiring?
A Ring doorbell usually uses standard low-voltage wiring. Some setups, however, might need specific chime connectors or adapters based on the model or if integrating with an existing chime system.
Why are some people eliminating their Ring doorbells?
Some people eliminate their Ring doorbells due to concerns over privacy, potential subscription fees, or installation challenges, prompting them to seek alternative doorbell solutions that better match their needs.
What are the differences among Ring Video Doorbell models and other brands like Blink?
Ring Video Doorbell models range from battery-powered to hardwired options with varying features, while Blink offers a wireless doorbell alternative. Each option caters to different installation preferences and user requirements.