
Ever get caught off guard when water comes near your smartphone? Even devices labeled as waterproof can misbehave when they get wet. Here’s a quick, friendly guide to help you act fast and avoid expensive repairs. First, turn your phone off immediately to stop any electrical mishaps. Next, remove your case so moisture can escape. Then, take a close look at your device for any signs of water damage. Follow these clear steps to determine whether you can fix the issue on your own or if it’s best to seek professional help. Stay calm, and handle spills with confidence!
Immediate Steps for Waterproof Smartphone Repair
-
Turn off your phone immediately.
Powering down within half an hour helps stop any electrical activity, which lowers the chance of a short circuit. -
Remove your SIM card and any protective case.
Taking these out lets any trapped moisture escape and makes it easier for the phone to dry faster. -
Shake out excess water gently.
Give the device a light shake to help release water droplets without pushing them further inside. Think of it as a careful tilt and shake rather than a vigorous toss. -
Dry the outside carefully with a lint-free cloth.
Wipe the device with a soft, lint-free cloth to remove surface water. This helps avoid leaving behind any fibrous debris that might block your ports. -
Keep the phone off and avoid charging it.
Leaving it powered down ensures that its circuits remain inactive, which is safest until you’re sure all the moisture has evaporated. -
Place your phone in a warm, dry spot.
Moving the device to a controlled, dry area can help speed up evaporation and reduce the risk of corrosion over time.
Diagnosing Moisture Damage in Waterproof Smartphones
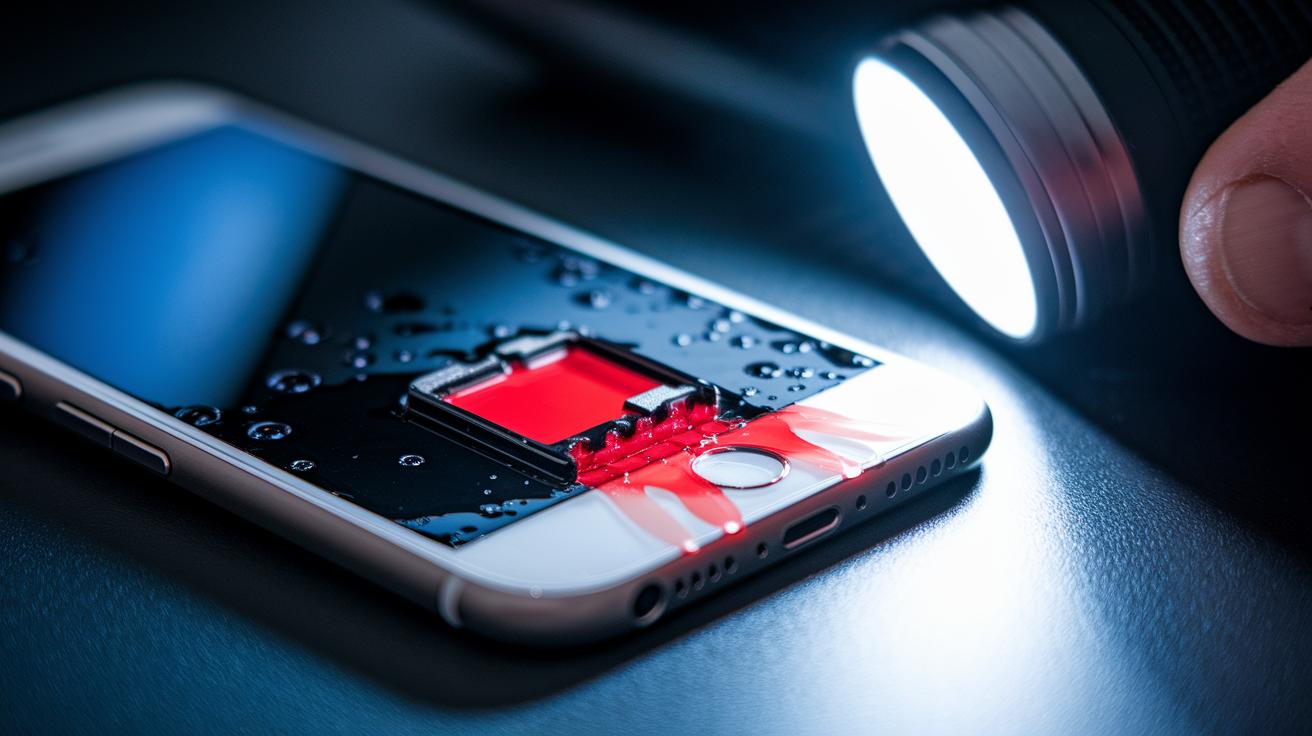
If your phone starts acting up, unresponsive buttons, weird audio, or charging problems, it could be a sign that water has gotten inside. The first step is to check the liquid contact indicator (LCI), usually found in the SIM tray or near the charging port. When water touches it, the color might change from white to red, alerting you to moisture exposure.
Next, grab a flashlight and shine it into gaps or crevices you can see, or even after a light disassembly if you’re comfortable. This helps you spot any corrosion or residue that hints at extended moisture contact.
Checking these signs early is crucial. A quick look at the LCIs and a brief visual inspection can help you decide if you might fix it yourself or if it’s time to call in a repair pro. Acting fast could save your device from more serious damage.
Essential DIY Tools and Materials for Waterproof Smartphone Repair
Repairing a water-damaged smartphone can feel like a daunting challenge, but having the right tools makes all the difference. Before you dive into drying out and fixing your device, it's crucial to gather the proper equipment. This not only speeds up the repair process but also helps safeguard those sensitive components from further harm.
Below is a practical list of must-have items for anyone aiming to tackle water damage. Each tool has a specific role, whether it's cleaning off corrosion with high-strength isopropyl alcohol or checking electrical connections with a digital multimeter once your device is dry. Setting up your workspace with these essentials lays the groundwork for a safe and effective repair.
Remember to follow the usage notes for each item closely. Keeping your area tidy and free from extra moisture is key to removing any hidden water and grime. Every tool in this kit plays a part in making sure each repair step is as efficient as possible, so you can work with confidence and care.
| Tool | Purpose | Usage Note |
|---|---|---|
| 90%+ Isopropyl Alcohol | Circuit cleaning | Apply carefully with a cotton swab on affected areas. |
| Silica Gel Packets | Moisture absorption | Place with the device for a drying period. |
| Lint-Free Cloth | Surface drying | Wipe gently to avoid depositing fibers. |
| Precision Screwdriver Set | Disassembly | Use the correct bits to avoid damaging small screws. |
| Cotton Swabs | Detailed cleaning | Dab alcohol on localized corrosion spots. |
| Digital Multimeter | Post-dry testing | Verify electrical continuity before reassembly. |
waterproof smartphone repair tips: Enjoy Effortless Recovery
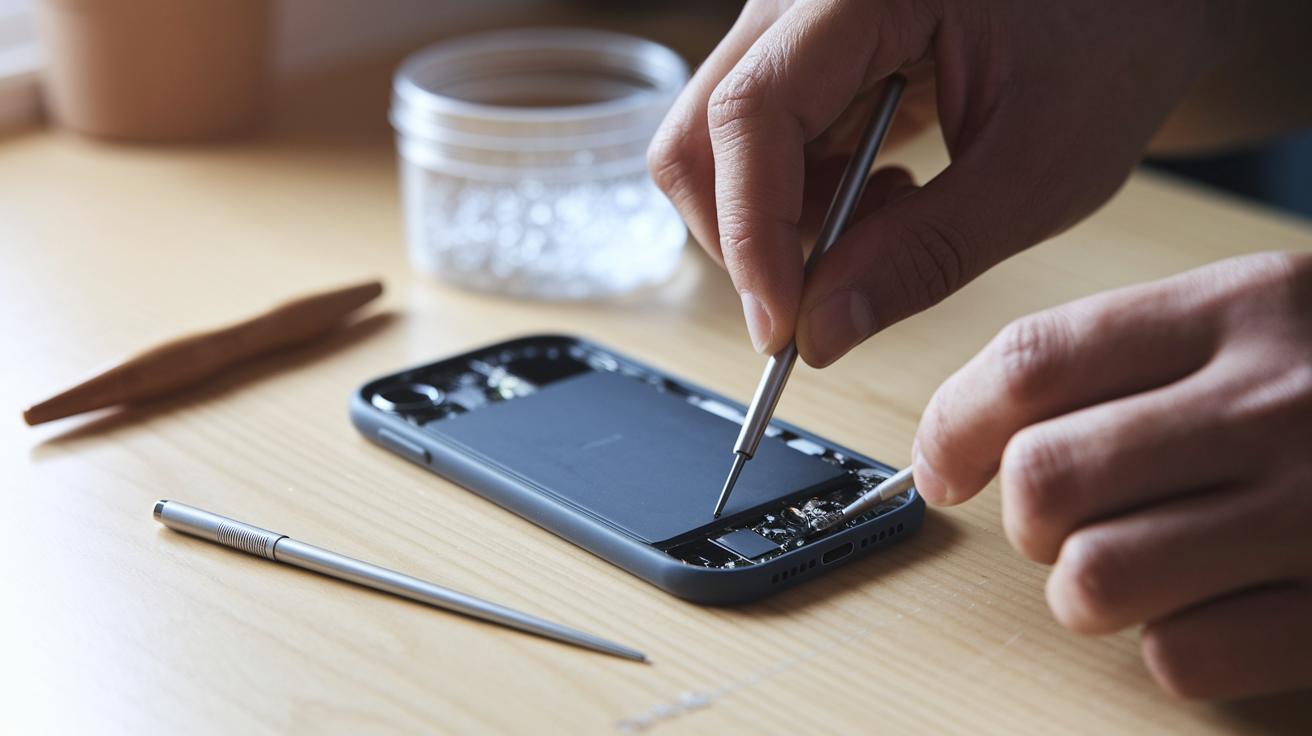
Step 1: Disassemble the Outer Cover
Begin by gently removing the SIM tray, back cover, and battery if possible. This step opens up the phone so any trapped moisture can escape. Use the right tools like a precision screwdriver to lift each part without harming the delicate connectors.
Step 2: Dry and Dehumidify the Internals
After taking the outer cover off, put the parts in a sealed container with several silica gel packets. These packets pull moisture from the components. Place the container in a warm spot away from direct sunlight for at least 48 hours, ensuring the drying process is gradual and safe.
Step 3: Clean Off Any Corrosion
Look over the circuitry for any signs of corrosion. Lightly dip a cotton swab in 90% or higher isopropyl alcohol and carefully clean away any tarnish or deposits. Work slowly around the sensitive parts because leftover residue can damage connections once power is restored.
Step 4: Reassemble and Check Basic Functions
Once everything is clean and dry, reattach the back cover, insert the battery, and slide the SIM tray back in. Then, turn the phone on cautiously. Test key features like the screen, sound quality, and charging port before loading many apps.
Step 5: Perform Extended Function Checks
To be sure the phone is fully recovered, run extended diagnostics or use a digital multimeter over the next 24 hours. This final check confirms that the moisture is completely gone and the repair is stable, so the phone can safely return to everyday use.
Preventing Future Water Damage and Protective Maintenance
IP68-rated phones are built to handle a quick dip in water for up to 30 minutes, but that doesn't mean you can expose them to heavy moisture. Even the best phones need extra help if they face prolonged exposure. One effective way to protect your phone is by using a certified waterproof case. Trusted brands like LifeProof, Catalyst, and Spigen offer cases that add an extra layer of defense. For instance, pack your phone in a verified waterproof pouch during a poolside lunch to guard against surprise splashes.
It's also smart to check your phone's ports and casing regularly. A small crack or a worn seal may seem harmless, but over time, they can let water sneak in. If you notice any damage, replace the parts as needed. And remember, never charge a wet phone; moisture in the charging port can cause a short circuit and lead to permanent damage.
Keeping your phone in a dry spot is another simple way to protect it. Avoid areas with too much steam or high humidity, and if you're working out, consider a sweat-proof pouch to lower internal moisture buildup. Regular maintenance, like cleaning your protective case and ensuring a secure fit, further reduces the risk of unwanted liquid exposure.
When to Seek Professional Help for Water-Damaged Smartphones
If your DIY fixes don’t get your phone working properly, it’s a good idea to call in the experts. When your phone won’t power up after five days, it might have deeper damage that simple drying and cleaning can’t fix. Other signs include ongoing screen glitches, charging problems that keep coming back, or odd audio issues.
Before you try more repairs on your own, look for these warning signs:
- The phone stays dead or unresponsive after five days.
- Screen glitches and sound issues keep returning, despite your efforts.
- The charging port still malfunctions or shows signs of corrosion.
- You have trouble accessing your data, which could put important files at risk.
In these situations, a certified technician can not only repair the phone but also help recover your data. Plus, if your carrier or insurer offers water-damage coverage, it may help cover the costs.
Final Words
In the action, we covered swift steps for liquid spill response, from powering off and drying your device to detailed repair techniques and future prevention measures. Each section offered practical advice, from using silica gel to diagnosing moisture damage, to help you make informed choices when tackling water damage. These waterproof smartphone repair tips can guide your DIY fix or signal when to call in a professional. Remember, staying proactive and cautious keeps your device in top shape and minimizes long-term issues. Enjoy the confidence of a device well cared for.
FAQ
Waterproof smartphone repair tips reddit
The waterproof smartphone repair tips from Reddit emphasize turning off your phone immediately, removing the SIM and any protective case, and gently drying the device to minimize water damage.
Best waterproof smartphone repair tips
The best repair tips focus on powering down immediately, removing external parts, gently drying with a lint-free cloth, and using moisture-absorbing agents like silica gel to help prevent internal damage.
How to remove water from inside phone screen
Removing water from inside your phone screen involves powering off quickly, tilting the device to let excess water exit, and gently drying with a lint-free cloth along with using moisture-absorbing packets.
What to do if your phone falls in water but still works
If your phone falls in water but still works, it is best to power it down, remove accessories like SIM cards, gently dry it, and let it air out in a warm, dry place to mitigate hidden damage.
I dropped my phone in water for 2 seconds
Dropping your phone in water for 2 seconds still requires caution; power it off immediately, remove any cases or SIM, gently dry it, and give it sufficient time to completely dry before using again.
What to do when water goes in phone speaker
When water enters your phone speaker, switch off the device, gently pat dry the exterior, and avoid using charging ports until the water is absorbed by leaving it in a warm, dry setting.
Phone water damage repair cost
The cost for phone water damage repair can vary significantly, typically ranging from $100 to several hundred dollars, depending on the extent of internal damage and the repair service used.
I dropped my phone in water what should I do
If you dropped your phone in water, power it off immediately, remove the SIM card and any accessories, gently dry the phone, and let it air out in a warm, dry environment to reduce potential damage.
How to repair a phone damaged by water?
Repairing a water-damaged phone involves turning it off, removing external components, drying thoroughly with moisture-absorbing agents, cleaning any visible corrosion with isopropyl alcohol, and then carefully reassembling for testing.
Is a repaired phone still waterproof?
A repaired phone may not remain fully waterproof as water-resistant seals can become compromised during repair, so extra care should be taken to avoid further exposure to moisture.
Is it worth fixing a water-damaged phone?
Fixing a water-damaged phone depends on the cost of repair versus replacement and the extent of the damage; if the repair is affordable and critical data is preserved, it can be a worthwhile solution.
What draws moisture out of a phone?
Moisture in a phone is drawn out by desiccants like silica gel along with warm, dry conditions, which help absorb internal water and reduce the risk of corrosion.