
Ever wondered if your smartphone could capture tiny details just like a pro? Many people think close-up shots need expensive gear, but that isn’t always the case. We’re here to share a few practical tips to help you master macro photography with your phone.
First, learn how to work with lighting so that no harsh shadows ruin your shot. Next, find the right distance for your close-ups, sometimes just a few extra inches make all the difference. And don’t forget to keep your phone steady; a simple clip-on lens can help by reducing shadows and sharpening your focus.
With a few easy adjustments, your phone's macro mode can turn everyday close-ups into stunning photos that reveal hidden beauty.
Achieving High-Quality Macro Shots with Your Smartphone
Getting up close in smartphone macro mode means you'll often be just a few centimeters from your subject. That kind of closeness can create strong shadows and odd angles, making it hard to capture small details. With such a shallow depth of field, even the tiniest misstep can blur your focus, leaving parts of your image unclear. Plus, most built-in modes don't give you much room to adjust light or focus, which tightly limits your creative control.
A clip-on macro lens for your phone can make a big difference. By letting you step back a bit, it reduces harsh shadows and makes it easier for your subject to naturally fill the frame. This extra breathing room means you can better manage your lighting and fine-tune your focus, helping you nail every detail.
Here are some key tips to get the best macro shots:
| Tip | Suggestion |
|---|---|
| Working Distance | Keep a steady gap between your lens and subject to avoid unwanted shadows. |
| Lighting | Adjust ambient or extra light to clearly reveal tiny textures. |
| Focus Accuracy | Use manual focus with focus peaking if possible to lock in sharp details. |
| Stability | Keep your phone steady with a tripod or handheld stabilizer. |
Mastering these basics is a must before you try more advanced techniques. With careful planning, controlled lighting, precise focus, and steady handling, you can transform tricky close-up shots into stunning, detailed images.
Configuring Smartphone Settings for Stunning Macro Photos
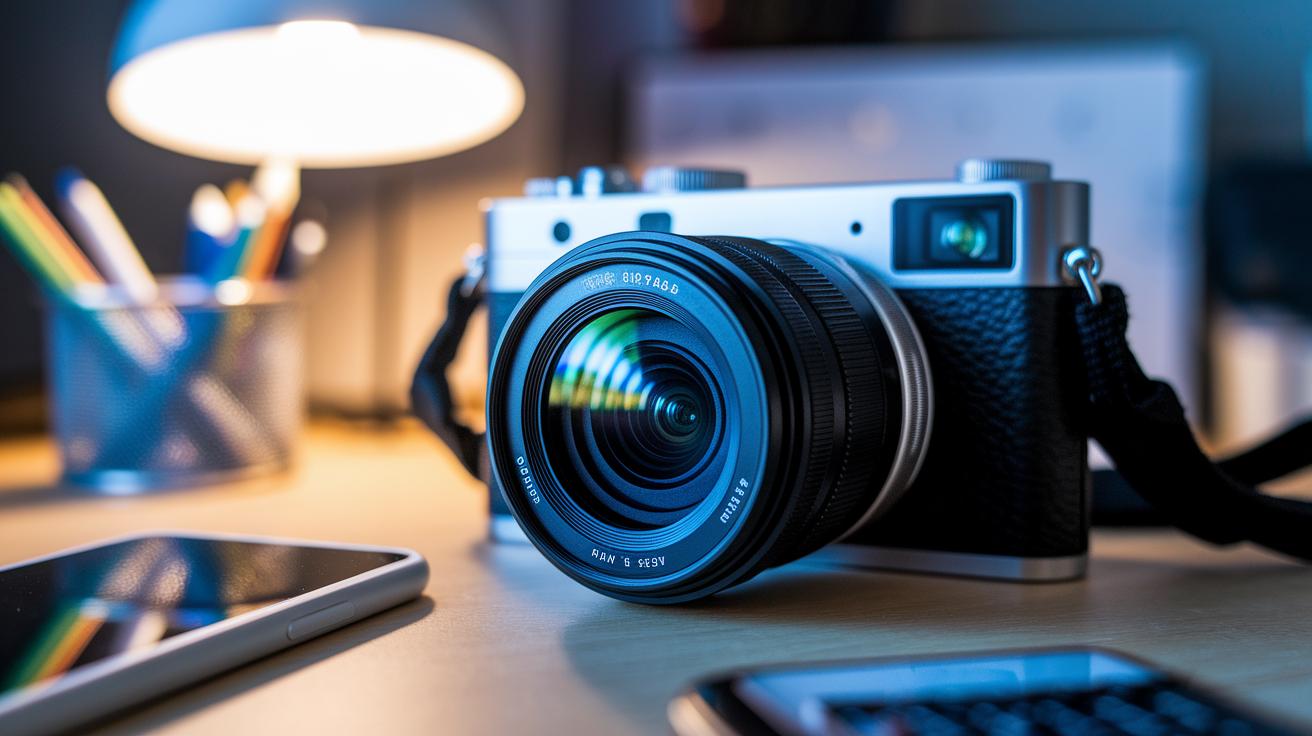
To get crisp macro shots, start by setting your camera to its highest resolution and choosing RAW mode. Shooting in RAW keeps all the tiny details, which makes editing later a breeze.
Resolution & Format (RAW vs JPEG)
RAW mode saves more image data and gives you a wider dynamic range. JPEG, on the other hand, compresses your shot and can lose the fine textures you need when zooming in.
Focus & Exposure Lock
Switch to manual focus and use focus peaking so you know exactly where your subject is sharp. Also, lock your exposure and white balance. This keeps brightness and color steady, so you don’t get any unexpected shifts in your photos.
Shutter Speed & ISO
Try setting the shutter speed between 1/120 and 1/250 seconds to freeze tiny movements when you have good light. Adjust the ISO to keep the noise low while still showing off all the details.
- Set camera to maximum resolution in RAW mode.
- Use manual focus with focus peaking for pinpoint clarity.
- Lock exposure and white balance to avoid unwanted changes.
- Keep shutter speed between 1/120 and 1/250 sec in good light.
- Adjust ISO to find the right balance between detail and noise control.
Before each shoot, test these settings in your usual lighting. Making small tweaks can help you nail the perfect balance of clarity and exposure for stunning macro photography.
Essential Smartphone Lens Attachments and Accessories
If you want to capture detailed macro photos without getting too close, a distance-friendly lens like the LensUltra 75mm Long-Range Macro might be just what you need. It lets you photograph larger subjects or live scenes while keeping a comfortable gap between you and your subject.
For those moments when you need to zoom in on really tiny details, the 10× Micro lens is perfect. It picks up textures and minute features that your phone’s built-in camera might miss.
Each lens plays its own role in macro photography. Your choice depends on what you plan to shoot. There are also supportive accessories available. For example, a ShiftCam case or a universal lens mount helps keep the lens aligned with your smartphone sensor. And when you need extra stability for techniques like focus stacking, a ProGrip stabilizer or a tabletop tripod adapter can make a big difference.
- Long-range macro lens
- 10× Micro lens
- Universal lens mount
- ProGrip stabilizer
- Tripod adapter
When shopping for these tools, think about the type of photos you take most and your budget. Great accessories can really improve your shots, but affordability and ease of use are just as important as performance.
Lighting Techniques for Smartphone Macro Photography
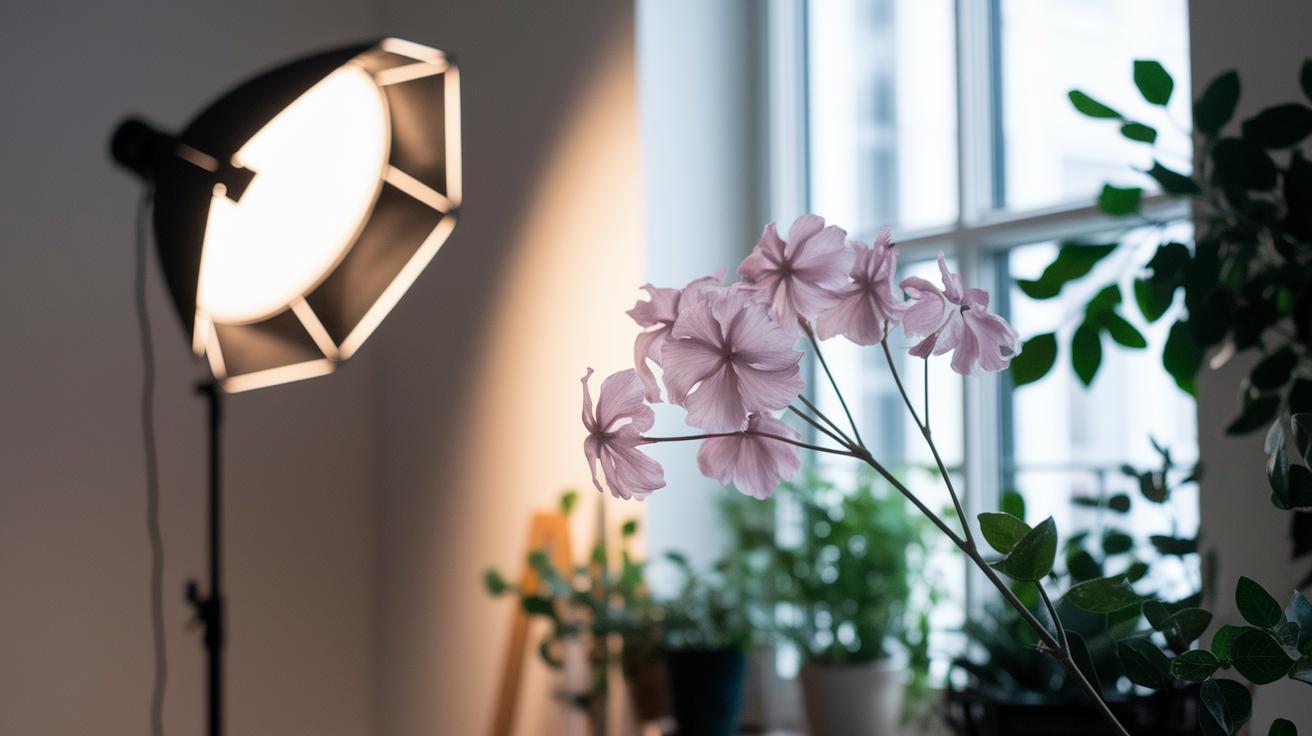
Mixing natural and artificial light can really bring out the fine details and colors in your close-ups. Window light offers a soft, even glow that works great for capturing flowers and leaves, but sometimes it needs a boost. Small LED lights like the SnapStudio Light or SnapPocket Light provide a gentle, controlled glow that brings out textures without casting harsh shadows. Leaving the built-in flash aside helps keep your shots natural and true to life.
- Use diffused LED lights to add and regulate brightness.
- Employ reflectors to provide extra fill light and soften shadows.
- Make your own bounce cards to gently direct light where needed.
- Use a diffused smartphone flash when you need a bit more brightness.
- Time your shoots during soft window light for natural, flattering tones.
Playing around with different angles can also help cut down on shadows and highlight small details like leaf veins or water droplets. Try positioning your light source to the side or even behind your subject. This not only reduces harsh shadows but also adds depth and contrast to your images. Experiment with various setups in your usual shooting spot to find the perfect mix of natural and artificial light for your creative style.
Mastering Focus and Composition in Close-Up Shots
Manual focus peaking transforms the way you capture macro photos on your smartphone. It outlines edges and textures so you can tell immediately which parts are sharp. This is especially handy when photographing tiny details like the fine veins on a leaf or the intricate patterns on jewelry. In macro shots, where only a few millimeters are in focus, this tool really comes into its own.
- Minimal backgrounds – Use plain surfaces such as matte paper or fabric to keep unwanted textures out of the frame.
- Natural scale cues – Add a familiar item or a subject’s inherent feature (like a coin’s edge or the vein of a leaf) to help viewers understand the subject’s size.
- Strong diagonal lines – Arrange your subject along diagonal lines to create a lively composition that naturally draws the viewer’s eye.
Focus stacking is another practical technique to beat the shallow depth of field in macro photography. Start by taking a burst of photos, each with the focus shifted slightly. Then merge these images during editing to create a picture that remains in sharp focus from foreground to background.
Changing your shooting angle can also be a game-changer when highlighting textures. Try capturing your subject from an off-center or lower angle to reveal unique shadows and surface details. This approach can highlight natural curves and bring out the subtle intricacies that a straight-on shot might miss.
Stabilizing Your Smartphone for Sharp Macro Images
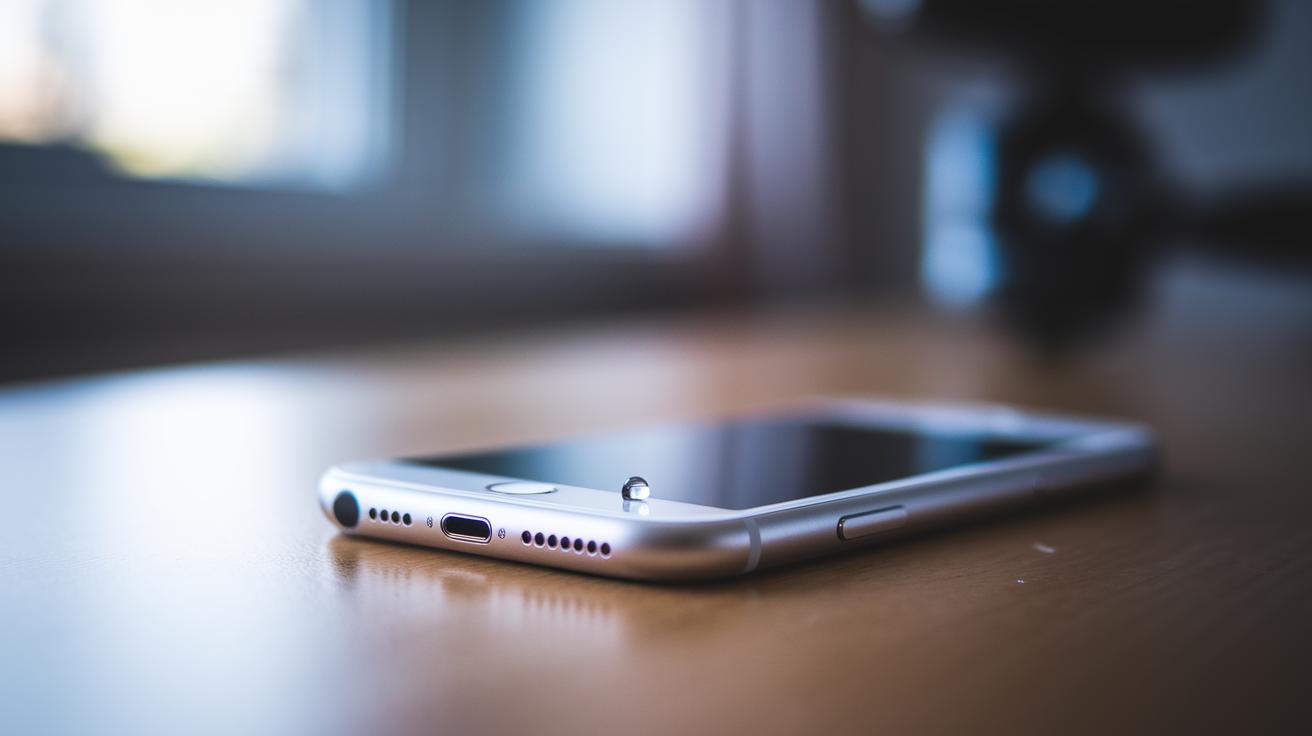
Macro photography can be tricky because even the smallest shake can blur the details you want. When you're taking a close-up shot, every tiny movement counts, and details can easily vanish. That's why using stabilization tools is key for consistently sharp shots.
Here are a few tools that can help:
- Handheld stabilizer – Gives your hold extra support to reduce natural hand tremors.
- Small tabletop stand – A compact option that works well on any flat indoor surface.
- Tripod adapter – Attaches your smartphone securely to a tripod for steady, predictable positioning.
- Bluetooth shutter remote – Lets you take photos without touching your phone, which helps cut down on shake.
If you don't have a tripod, try resting your elbows close to your body and leaning against a stable surface. Using both hands and keeping your arms steady really helps, ensuring every macro image stays crisp and full of detail.
Post-Processing and Editing Tips for Smartphone Macro Photos
Begin by selecting an editing app that supports RAW files. Shooting in RAW keeps all the small textures and natural colors intact, so you can adjust your picture later without ruining any details. A solid editing app lets you fine-tune your photos, making sure every tiny element pops.
- Exposure compensation: Increase brightness by 50 to 100 points using the Lux slider. This helps reveal textures you might otherwise miss.
- Sharpening: Apply a moderate amount of sharpening to boost crisp details without making the image look over-processed.
- Color balance: Make small tweaks to contrast and white balance to keep your photo natural while emphasizing textures.
Keep your edits light to preserve the real feel of your shot. Instead of heavy filters that can hide the fine details of your subject, focus on small adjustments that boost clarity and depth. When you're happy with your changes, export your photo at the highest resolution available. This way, the final image will shine on any screen, keeping all the careful details you captured.
Creative Mobile Macro Photography Ideas and Troubleshooting
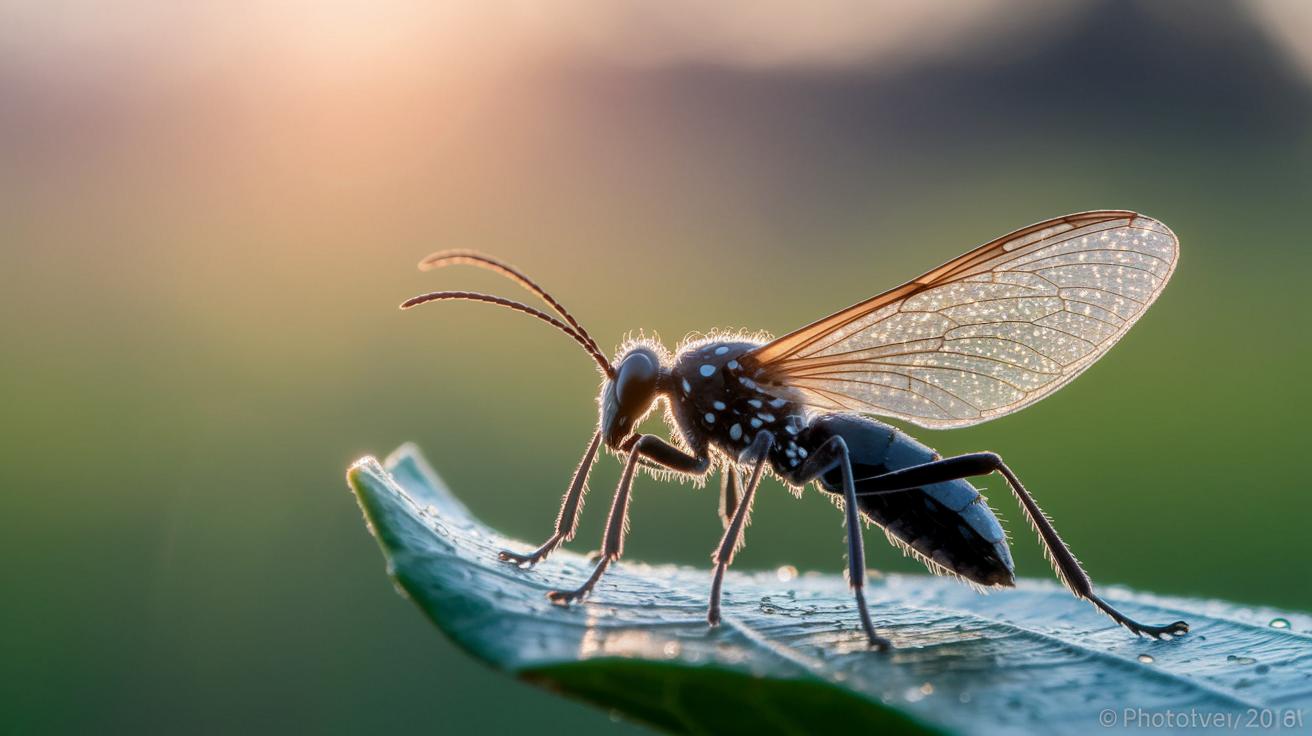
When you experiment with smartphone macro photography, selecting the right subject can completely change your image. For instance, snapping photos of insects at dawn with a 75mm lens gives you soft natural light that brings out fine details like delicate wings and textures. Similarly, photographing water droplets works well when you hold your phone a bit further away, which helps avoid heat haze and keeps the images crisp. Every subject has its own textures and charm.
Be bold and try new angles. Take close-up shots of intricate details on jewelry or vintage watches with a 10× Micro lens and soft, diffused lighting. This approach highlights every small component and boosts your creative edge.
- Shoot insects early in the morning with a 75mm lens for clear detail.
- Capture water droplets by keeping a safe distance to avoid heat haze.
- Use a 10× Micro lens to reveal stunning details in jewelry.
- Lock manual exposure and focus to reduce blur.
- Use burst mode to catch the sharpest moment.
- Experiment with clean, simple backdrops to emphasize natural scale.
If you run into any issues, a few tweaks often solve the problem. Blurry shots can be minimized by switching to burst mode or using manual focus peaking. If focus isn’t consistent, check your exposure settings and try locking the white balance for more dependable colors. For harsh shadows, reposition your light or introduce some diffused lighting to create a softer, balanced look. Always review your photos and adjust settings until you achieve the desired result.
Final Words
In the action of capturing unique details, we tackled challenges of harsh shadows and shallow depth of field while focusing on practical smartphone macro photography tips. We broke down settings, lens attachments, lighting, focus, and stabilization to help you capture sharp, creative close-ups. Each section offered clear guidance for managing working distance and natural light, ensuring even beginners can get started with reliable results. Enjoy experimenting with these techniques and watch your macro photography skills truly come to life.
FAQ
What are some top smartphone macro photography tips for beginners from Reddit insights?
Starting with a focus on working distance, precise lighting, and stability can make a big difference. Many experts suggest using external clip-on lenses and manual adjustments to overcome the limitations of built-in macro modes.
How does one capture clear macro photos using an iPhone, including the iPhone 16?
iPhone users find that switching from native macro modes—which can create harsh shadows—to manual focus settings with clip-on lenses provides better control over distance and lighting for crisper, detailed close-ups.
How can macro photos be effectively taken with an Android smartphone?
Android approaches benefit from engaging manual modes and using external macro lenses. Fine-tuning focus, optimizing lighting, and employing burst mode ensure that even shallow depth shots remain sharp and well-defined.
Which budget phones excel in macro photography?
The best budget options offer either a dedicated macro mode or compatibility with external lenses. Look for phones with reliable focus capabilities and positive user reviews that highlight clear, detailed close-up performance.