
Ever wondered if you could build your own smart glasses? This guide walks you through five hands‑on tips that make assembling a pair of smart glasses both fun and achievable.
We start by exploring how to pick a bright micro‑display that brings vivid images to life. Then, we show you how to pair it with a compact board that keeps performance smooth throughout your day.
You'll also find ideas for upgrading sensors, setting up a reliable power source, and ensuring your design stays secure under everyday use.
In short, you'll get clear, practical advice that puts real-life tech into your hands. Ready to dive in and create wearable tech that stands apart? Let's get started!
5 smart glasses diy Tips That Excite
-
Choose an optical engine that fits your needs. For example, if you want a compact, bright digital display overlay, a micro-OLED is a solid choice. Fun fact: even before digital screens became common, small displays changed how we used technology. Check out smart glasses with built-in displays to see your options.
-
Pick a computational core that matches your project. For a maker-style wearable, a small board like the Raspberry Pi Zero W delivers plenty of power. If your project is simpler, an Arduino Nano 33 BLE handles sensor data and display tasks with ease.
-
Add key sensor modules to boost performance. An IMU (inertial measurement unit that tracks head movement) teamed with a tiny camera helps keep your augmented reality overlay responsive and accurate.
-
Focus on power management and connectivity. Use a Li-Po or Li-ion battery mounted discreetly on the temple arms to balance capacity and weight. Pair it with Bluetooth LE or Wi-Fi for smooth data transfer. You might also want bone-conduction speakers to keep ambient sounds clear.
-
Pay attention to both mechanical design and software. A custom PCB paired with a 3D-printed frame holds everything securely, while a layered setup from firmware to user interface takes care of calibration and digital overlays. Be ready to work with soldering irons, 3D printers, and basic tools to bring your smart glasses together.
Key Components Selection for Your Smart Glasses DIY Project
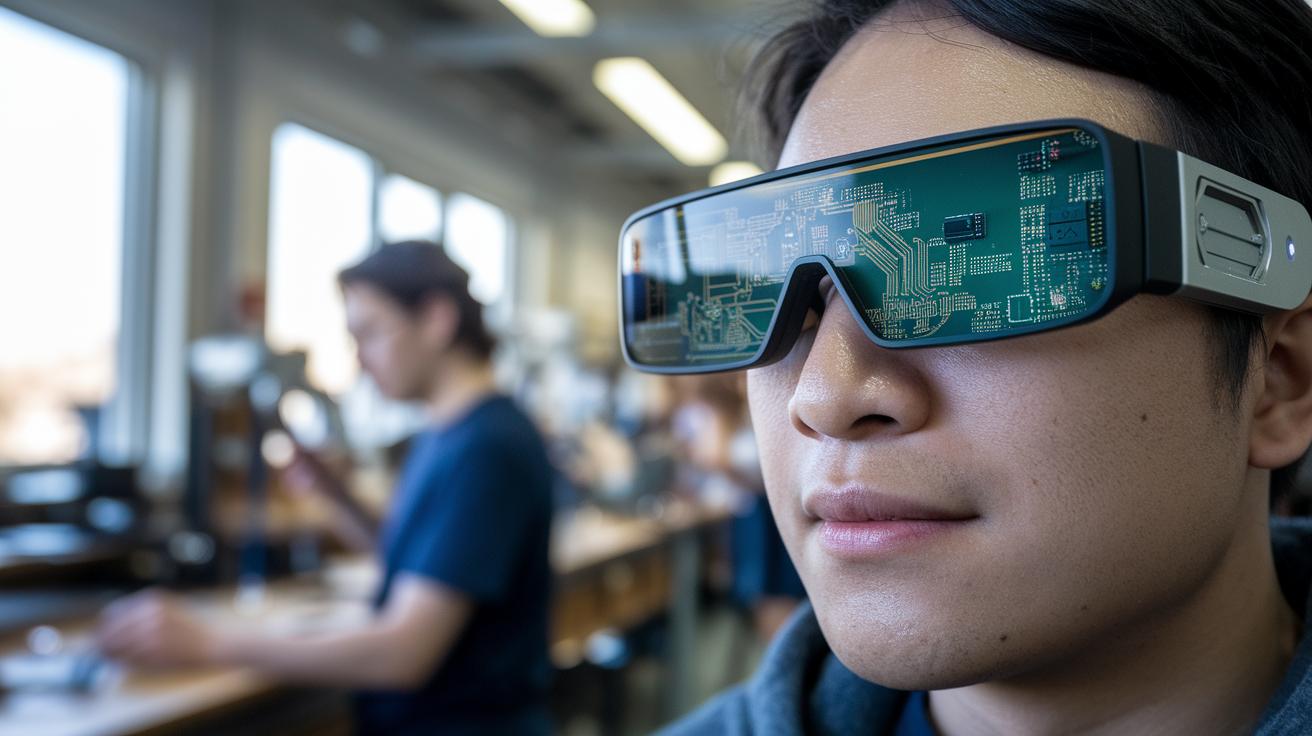
When building your smart glasses, start by choosing an optical display that fits your needs. A micro-OLED display offers sharp images and saves power, while an LCOS display might give you higher resolution if you need extra detail.
For the brains of the project, you have good options. Use a Raspberry Pi Zero W when you need to handle demanding, interactive tasks. If your project is simpler, an Arduino Nano 33 BLE works well for managing sensors and basic display duties. Think of the Raspberry Pi as the heavy lifter and the Arduino as the helper.
It’s essential to include sensors that keep track of your head movement. An IMU (inertial measurement unit) will do the job, and a compact camera module can add extra scene capture if needed. Your power choice is equally important. Decide between Li-Po and Li-ion batteries based on how much capacity you need and how light you want the glasses to be. A smart regulation circuit can also help extend battery life by smartly switching to sleep mode.
For staying connected, Bluetooth LE is ideal for light data transfer. If your project needs to handle more data, consider adding a Wi-Fi module alongside. When it comes to audio, bone-conduction speakers are a great pick, letting you hear clear sound while remaining aware of your surroundings.
Lastly, focus on the design aspects. A well-crafted 3D-printed frame and a custom PCB layout help reduce bulk, and using passive thermal pads can manage heat effectively.
| Component | Function | Approx. Cost |
|---|---|---|
| Optical Engine | Display (micro-OLED for sharp images & low power; LCOS for higher resolution) | $50 |
| Computational Core | Processing (Raspberry Pi Zero W for intensive tasks or Arduino Nano 33 BLE for efficiency) | $25 |
| Sensors | Head tracking and scene capture (IMU and miniature camera) | $30 |
| Power | Battery choice (Li-Po vs. Li-ion with smart regulation for extended runtime) | $20 |
| Connectivity | Data transfer (Bluetooth LE for lightweight use with optional Wi-Fi for extra power) | $15 |
| Audio/Mechanical | Sound and design (bone-conduction speakers, custom PCB, and thermal management) | $40 |
Hands-On Assembly Instructions for Homemade AR Eyewear
Start by getting your 3D-printed glasses frame ready. Choose a design that has specific slots for the optical engine and built-in channels for sensor wiring. Securely mount the optical engine in the frame so that the display sits right in front of your eye. For example, when you install the display module, make sure it fits snugly and won’t shift during later tweaks.
Next, solder the display ribbon cable to the microcontroller’s matching pins. Take your time aligning each connector so you avoid misalignment that might cause display issues. Once you’ve connected everything, run a quick check on the microcontroller firmware to confirm the screen gets the right startup commands.
When routing the battery leads and power-management board, plan carefully. Thread the wires along the temple arms where space is limited and use strain-relief techniques to help prevent early cable wear. Check that the leads help balance the weight of your Li-Po or Li-ion battery, making it comfortable to wear.
Now secure your sensor and audio units. Fasten the inertial measurement unit and tiny camera modules so they reliably capture head movement and the surrounding environment. Place the bone conduction speakers where they deliver clear sound without blocking your view. After everything is attached, power up the device to ensure each module responds as it should.
Finally, adjust the optics for a clear and comfortable focal distance. Move the optical engine until the digital overlay looks crisp for your vision. The build leaves out bulky video-recording parts to keep the profile light and comfortable while still delivering all the essential features.
Spectacle Programming Integration Guide and AR Interface Setup
Operating System and Firmware Installation
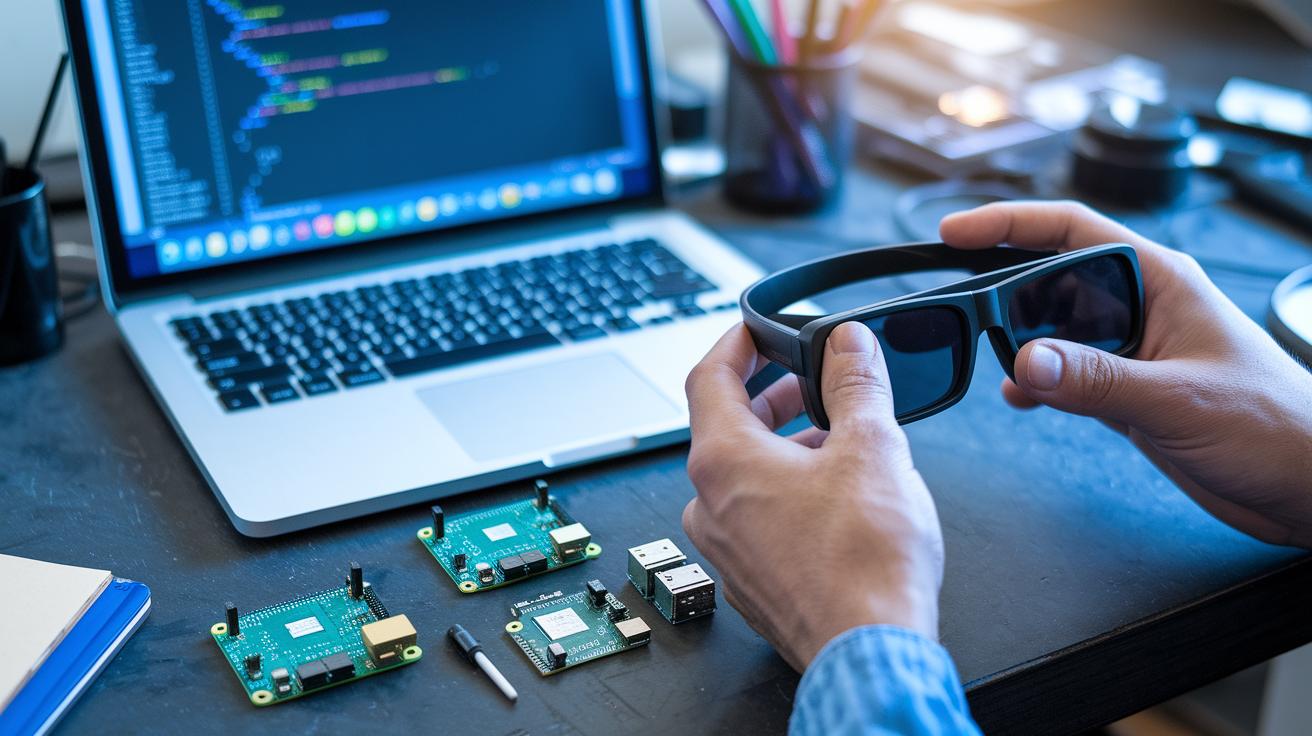
Begin by choosing an operating system that works well for your smart glasses project. If you are using a Raspberry Pi Zero W, Raspbian Lite is a solid option, and for a lighter build, an Arduino firmware might work better. First, flash the bootloader and install the drivers needed for both your display and sensors. This step makes sure your device can recognize the optical engine, IMU (inertial measurement unit), and camera modules. For a quick check, open your terminal and type "lsusb" to see if your board appears correctly.
Make sure every component is communicating properly with the host OS. It helps to keep organized logs during installation so you can easily find any error messages or issues with connectivity. Also, double-check that all drivers are updated and working smoothly before moving forward.
AR Interface Development and Calibration
Now, build a simple UI overlay using Python or C++ that serves as the core of your augmented reality interface. This overlay should handle head-tracking data and display digital images. Think of it like asking, "How do smart glasses work?" as you merge sensor data with visuals. Write a loop to continuously fetch data from your sensor and update the overlay. For example:
while True:
update_overlay(head_data)
After setting up the interface, implement calibration routines. Use test patterns to adjust the eye-box alignment and fine-tune the focal point. Proper calibration ensures your digital content looks crisp and is aligned with your natural vision. By optimizing the driver settings and firmware to support accurate head-tracking, you can significantly reduce any delays.
Performance Tuning, Cost Analysis, and Troubleshooting for DIY Smart Glasses
When building your smart glasses, balancing battery power and weight is key. If you pick a Li-Po battery in the 500 to 1,000 mAh range, remember that a heavier battery can make your glasses less comfortable. To help the battery last longer, try using deep-sleep modes and low-power display settings without losing performance.
Heat can be a real issue, too. Microcontrollers in tight spaces tend to warm up fast. We recommend using passive cooling methods like thermal pads. They do a great job of dissipating heat and keeping your device in the safe zone.
Budget-wise, you're looking at spending around $150 to $300, depending on the modules you choose. It pays off to invest in quality parts that work well together. Cutting costs with wiring or other components might mean paying more for repairs later on.
There are three common problems to watch out for during assembly. First, poor soldering or misaligned connectors can cause display flicker. For example, a loose display ribbon cable might lead to random visual glitches. Second, if sensors are placed incorrectly, the calibration can get thrown off, leading to a misaligned digital overlay. Finally, improper thermal management can result in overheating, which lowers performance. Avoid these issues by double-checking your solder joints, calibrating sensors with test patterns, and making sure thermal pads sit firmly on heat-prone parts.
Final Words
In the action, our guide walked through every step, from selecting key components and assembling your AR eyewear to programming and fine-tuning operation. We broke down optical choices, microcontroller decisions, and even power management challenges in clear, hands-on instructions.
The smart glasses diy project proves that a well-executed build can balance cost and performance. Enjoy turning your ideas into a functioning pair of AR spectacles with confidence and creativity.
FAQ
FAQ
What is included in a smart glasses DIY kit?
A smart glasses DIY kit includes essential parts such as a display module, microcontroller or SoC, sensor modules, batteries, and connectivity solutions, enabling you to build wearable augmented reality eyewear.
How do I make smart glasses at home easily?
Making smart glasses at home easily means using step‑by‑step tutorials and user‑friendly kits that guide you through hardware selection, assembly, and software integration for a smooth build process.
How do I make smart glasses with Arduino?
Making smart glasses with Arduino involves using an Arduino board like the Nano 33 BLE to control a digital display, manage sensors like an IMU, and power the unit with a suitable battery setup.
How can I make smart glasses for a blind person?
Making smart glasses for a blind person requires integrating features such as audio feedback via bone‑conduction speakers, tactile inputs, and high‑contrast display options to provide navigational assistance.
How do I make smart glasses with Raspberry Pi?
Making smart glasses with Raspberry Pi uses a compact board such as the Pi Zero W to run an operating system, process sensor data, and drive an optical display for augmented reality experiences.
How can real‑life E.D.I.T.H smart glasses be made?
Real‑life E.D.I.T.H smart glasses build involves combining optical display technology with AI‑driven processing, advanced sensors, and tailored software, though replicating all features may require significant technical expertise.
What are ESP32 smart glasses?
ESP32 smart glasses use the ESP32 microcontroller, which offers integrated Wi‑Fi and Bluetooth, to process sensor data and manage displays, making them a compact and cost‑effective option for DIY AR builds.
What do open source smart glasses offer?
Open source smart glasses projects provide community‑developed designs and firmware that let you adjust hardware components and software features to suit your specific augmented reality requirements.
How can I make my own AI glasses?
Making your own AI glasses means integrating a microcontroller with AI capabilities, connecting camera and sensor modules, and using open source AI frameworks to process real‑time data for augmented functions.
Can I convert my regular glasses into smart glasses?
Converting regular glasses into smart glasses is possible by installing a small display, sensors, and a computation unit, making DIY modification kits an option if you have the necessary technical skills.