
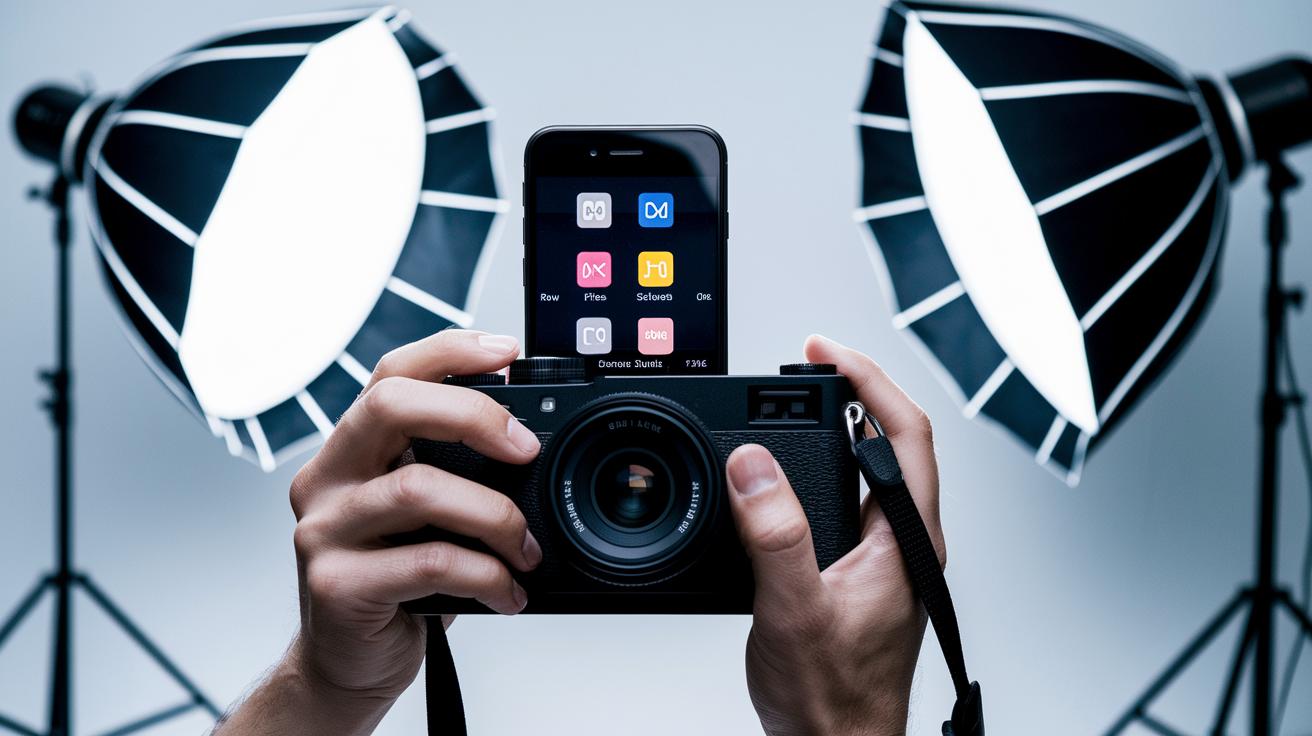
Ever notice how your phone photos sometimes just don't match what your eyes see? With a few simple tweaks, you can turn a basic shot into a standout image. Adjusting the rear camera settings, increasing the resolution, and giving the lens a quick clean may sound basic, but these small changes really add up. In this guide, we share five easy adjustments that help you capture sharp, balanced, and detailed pictures without any blurry or pixelated surprises. It's time to fine-tune your phone so it can show off what it does best.
5 phone camera settings for stunning photos
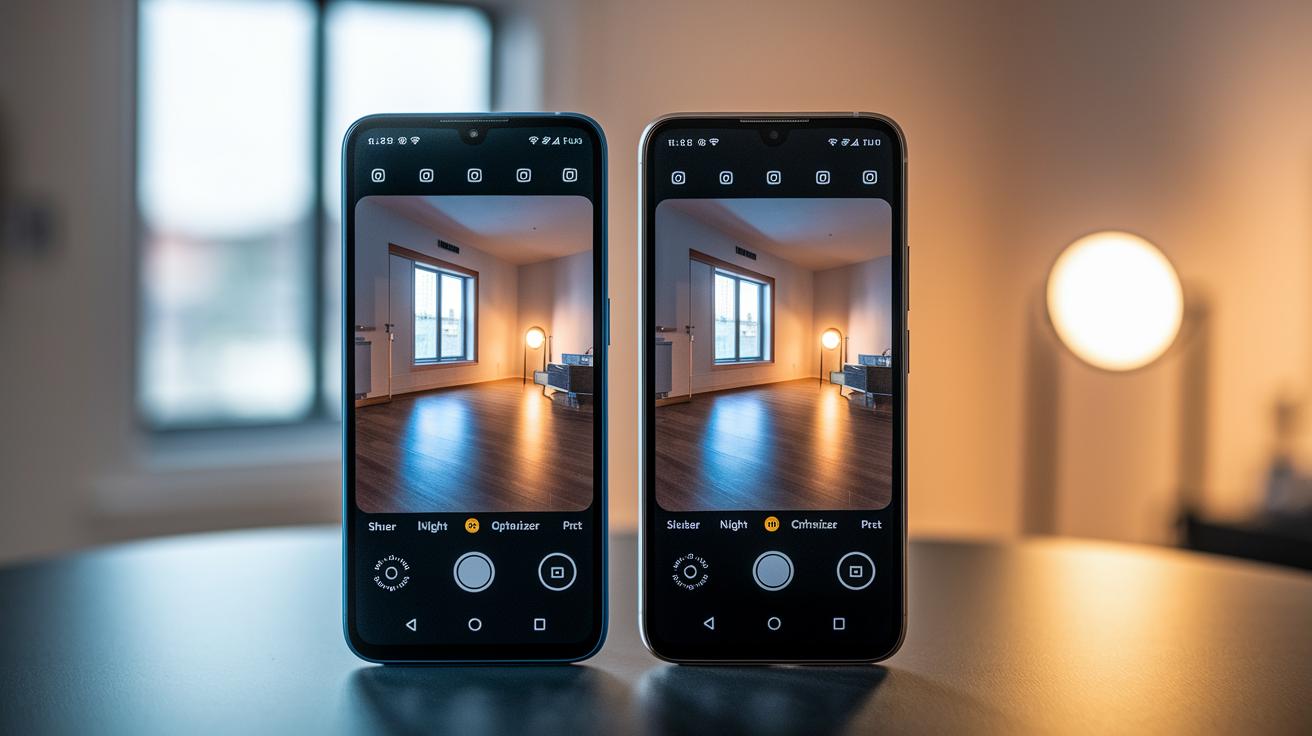
Getting your camera settings right at the start can really boost how your photos turn out. These basic tweaks make sure you take full advantage of your phone’s hardware, giving you clear, well-balanced images straight from the camera.
By setting things up correctly, you let your device shine. You get better image quality, improved composition, and more natural colors. Using the right configuration helps you avoid common issues like blurry or pixelated shots.
- Use the rear camera
- Set the highest resolution
- Turn on gridlines
- Keep digital zoom off
- Wipe the lens before shooting
Each of these changes works together to give you sharper, more detailed photos. The rear camera usually offers higher megapixels and better sensors. High resolution captures every little detail, while gridlines help you follow the rule of thirds for balanced shots. And by keeping digital zoom off, you prevent losing clarity. Finally, a clean lens is key to avoiding smudges in your pictures.
Exposure & ISO Settings in Phone Camera Settings

Many phones now come with a Pro Mode that lets you control things like ISO, shutter speed, and exposure compensation (EV). This gives you hands-on control over how your camera handles light and movement. You can adjust the sensor’s sensitivity to pick up details in low light or use a fast shutter speed to freeze quick action. Want to show a little blur for artistic effect? Just slow down the shutter speed. Increasing the ISO makes dim scenes brighter but too high a value might add some unwanted noise. The EV control helps balance the overall brightness when the light around you changes.
| Setting | Typical Range | Effect |
|---|---|---|
| ISO | 100–800 | Sensitivity vs. noise |
| Shutter Speed | 1/1000 s–1 s | Freeze vs. blur |
| Exposure Compensation | -2–+2 EV | Overall brightness |
Balancing these settings is key to getting great shots in different lighting. In bright settings, using a lower ISO keeps your image clear. In darker settings, boosting the ISO brightens the scene but might introduce some noise. Fast shutter speeds capture crisp action, while slower speeds let you capture motion. Adjusting the EV slider helps keep both shadows and highlights in check. Experimenting with these controls can really make a difference in how your photos turn out.
Focusing and White Balance Tips in Phone Camera Settings
Getting sharp images starts with proper focus. Tap your subject to focus and then press and hold to lock it in place so your picture stays crisp. When your subject is moving, switch to continuous focus so your camera can follow its every move. This way, even fast moments, like an approaching car, are captured in clear detail without any blurring.
White balance is key for making your colors pop. Most camera apps give you preset options like Auto, Daylight, Cloudy, or Tungsten to quickly match the lighting. You can also adjust the Kelvin value manually; for instance, using 5500 K works well for daylight. This fine-tuning cuts down on unwanted color shifts so that skin tones and surroundings look natural.
Usually, the Auto white balance preset does its job nicely in everyday lighting. But when the light is tricky or you want a specific vibe, tweaking the Kelvin setting gives you stricter control. Balancing between Auto and manual settings helps you take photos that are both clear and true to life.
Advanced Modes: HDR, RAW, Burst & Video in Phone Camera Settings
Pro Mode opens up advanced photo options that give you more control. For instance, shooting in RAW captures all the sensor data without compressing it into JPEG. This means you can adjust things like exposure, color, and noise later on with much more flexibility. JPEG images are smaller and easier to share, but they don’t keep all the details, especially in tricky lighting.
HDR and burst mode really come into their own when you’re snapping action. HDR works by blending several photos taken at different brightness levels into one balanced image. This means both the bright and dark areas in a high-contrast scene show off more detail. Burst mode, which takes about 8–12 photos per second, is perfect when moments fly by fast. Whether you’re shooting a sports game or capturing lively street scenes, burst mode ups your chances of getting that perfect shot without any blur.
When it comes to video, choosing the right resolution and frame rate is key. Most phones let you switch between 4K and 1080p and pick either 30 or 60 frames per second. Electronic image stabilization smooths out any shakes, while time-lapse and slow motion modes let you get creative. Time-lapse can show a whole scene evolving over time, and slow motion helps you highlight dramatic movements or small details. With these advanced video settings, your footage can look just as crisp and professional as your still photos.
Night & Low-Light Phone Camera Settings
Night Mode is your best friend when you're shooting in the dark. It takes several photos at once and blends them into one clear picture, giving you details that a regular shot might miss. Using a tripod and the self-timer helps keep your phone steady so your pictures come out sharp, whether you're snapping urban scenes or dim indoor moments.
For stunning star trails, switch to Bulb mode or set your phone to Pro Mode with a shutter speed of 15–30 seconds. These long-exposure techniques capture the slow movement of stars across the sky, turning them into beautiful trails. Just keep your setup stable, any movement can blur those intricate details.
When you're at a concert or live event, you want your photos to be vibrant yet clear. Keeping your ISO below 800 helps reduce grain, while a shutter speed around 1/60 second paired with an ISO between 800 and 1600 captures the energy without losing detail. Plus, many modern phone cameras offer in-app noise reduction, which smooths out grainy textures and keeps colors true to life.
Optimizing Phone Camera Settings on Android vs iPhone
For Android users, the built-in camera gives you a lot of neat options to get the best shot. If you use a Samsung, look for Scene Optimizer in Settings > Shooting Modes. This feature automatically tweaks your settings based on what you're photographing. When you need more control, head over to Camera > Mode and choose Pro or Night. Pixel phones offer a special feature called HDR+ Enhanced that grabs extra detail in high-contrast scenes. And if you want a little extra fun, try turning on Motion Photo. It captures seconds before and after you snap a picture, adding a bit of life to your memories. This mix of features helps ensure your pictures look clear and vibrant, whether you're in bright daylight or low light.
iPhone users also have a toolkit made for great photography. With Photographic Styles available in iOS 15 and later, you can pick a style that fits the scene right from the start. There's also an easy on-screen slider to adjust exposure, so you can brighten or darken your image without switching to a complex mode. And when you enable Live Photos, your shots capture a brief moment of movement, making your images feel more real and dynamic.
Google Photos ties it all together by keeping your shots backed up automatically while letting you tweak your images after you take them. Its built-in editing tools make it simple to fine-tune colors and brightness, ensuring that your journey from snapping to sharing is smooth and hassle-free.
Troubleshooting Common Phone Camera Settings Problems
If your photos are coming out blurry, it might be because your lens is dirty or your focus isn’t locked. Try wiping the lens carefully with a soft cloth before you snap a shot. Then, tap the screen to focus and press-hold to lock the focus for sharper images. Also, check your phone’s storage; a nearly full memory can slow down your camera or cause it to act up.
Grainy pictures usually point to a high ISO setting, especially when you're shooting in low light. Lowering the ISO or switching to a dedicated Night Mode can really clear up the noise in your images so that details stay crisp.
When your camera is misbehaving, the first step is to check app permissions. Make sure your camera app has full access to your camera and storage in your phone’s settings. It also helps to enable the grid overlay (find it by going to Settings > Composition > Grid) to better align your shots. Often, updating your phone’s firmware or the camera app itself fixes those annoying issues with the camera setup.
Final Words
In the action, we covered key phone camera settings from basic adjustments to manual exposure tweaks.
We broke down how to set up the rear camera, maximize resolution, use gridlines, and keep your lens clean. Later, we explored focusing strategies, white balance tips, and advanced modes like RAW and HDR.
By following these guidelines, you can improve photo composition and clarity with your phone camera settings. Keep experimenting and enjoy capturing those crisp, well-balanced shots.
FAQ
What are the best camera settings for Android phones?
The best Android camera settings include using the rear camera for higher quality, setting the maximum resolution, enabling gridlines for balanced composition, and trying advanced modes like HDR+ for enhanced clarity.
How do I set up my phone camera settings?
Setting up your phone camera involves opening the camera app, accessing its settings menu, and adjusting key options like resolution, focus modes, and gridlines to ensure sharp, well-composed photos.
What phone camera settings should I use for the best quality photos?
For the best quality photos, use the rear camera, maximize resolution, activate gridlines to follow the rule of thirds, disable digital zoom, and keep your lens clean to capture clear, detailed images.